- Home
- News
- WoW Midnight
- Maisara Caverns Mythic+ Guide — WoW Midnight Season 1

Maisara Caverns Mythic+ Guide — WoW Midnight Season 1
WoW Midnight · Season 1 · Mythic+ · New Midnight Dungeon · 33:00 Timer
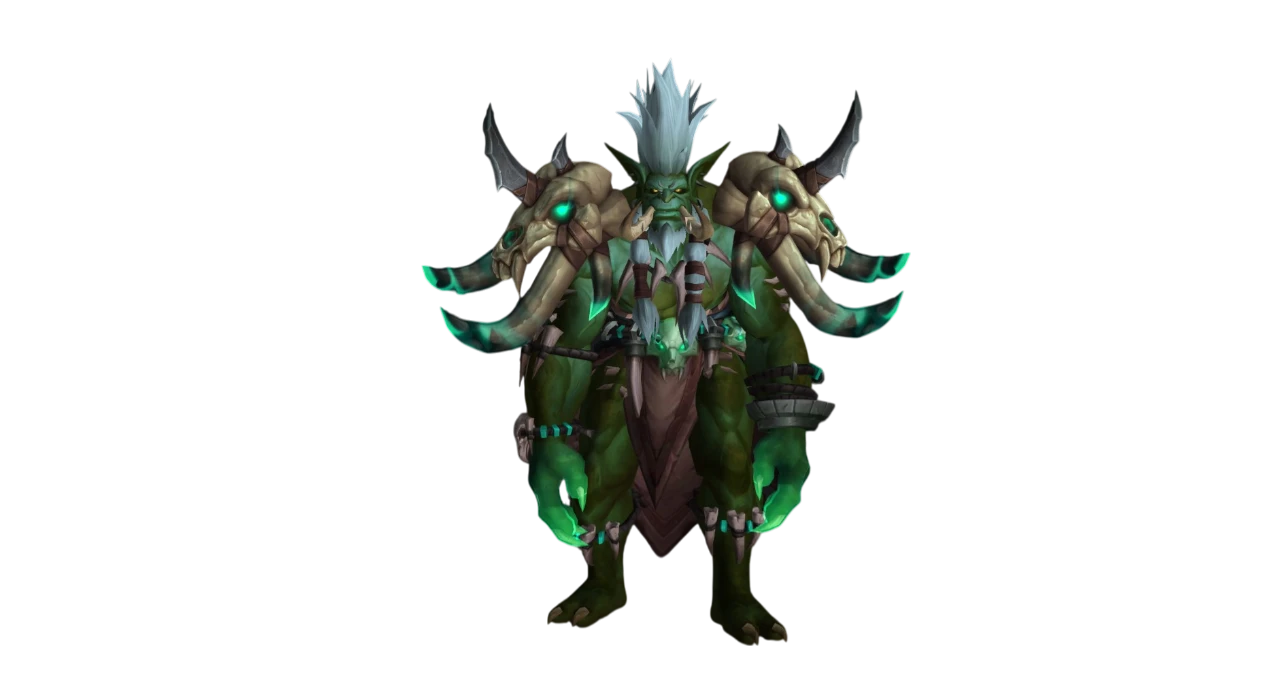
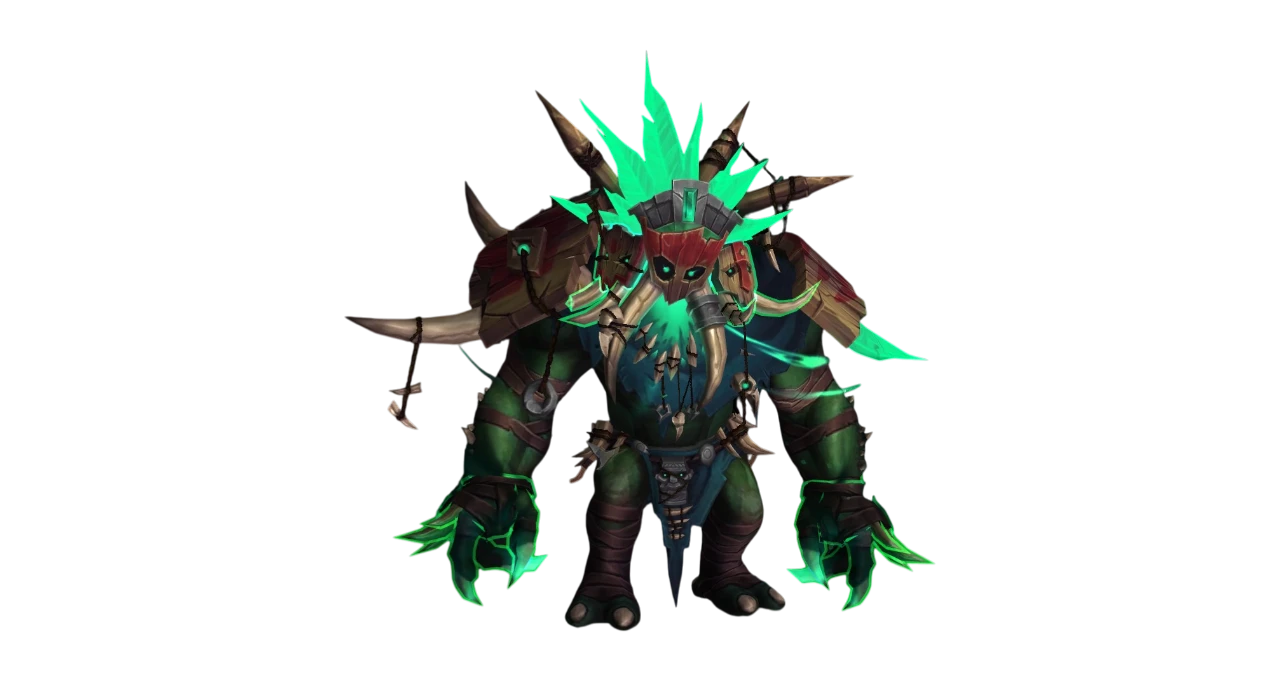
Maisara Caverns is a new dungeon added in the Midnight expansion, set deep in the Zul'Aman zone. The Vilebranch troll Vordaza and her monstrous creation Rak'tul have turned these caverns into a soul-harvesting operation. Three bosses in order: Muro'jin and Nekraxx → Vordaza → Rak'tul, Vessel of Souls.
Before reaching the first boss you must free 8 captives scattered across the caverns. Each captive group is guarded — the more captives present in a single area, the stronger the mobs protecting them. Captives are marked on your minimap. Clear them efficiently and don't skip groups unless you're certain of your count.
Key Interrupts & Dispels
Key Interrupts:
- Hex — Ritual Hexxer
- Hooked Snare — Keen Headhunter
- Shadowfrost Blast — Hollow Soulrender
- Reanimate — Reanimated Warrior
- Spirit Rend — Tormented Shade
Key Dispels:
- Hex — Ritual Hexxer
- Ritual Firebrand — Hex Guardian
- Infected Pinions — Muro'jin and Nekraxx
- Spirit Rend — Reanimated Warrior
- Frost Nova — Hollow Soulrender
Boss 1 — Muro'jin and Nekraxx
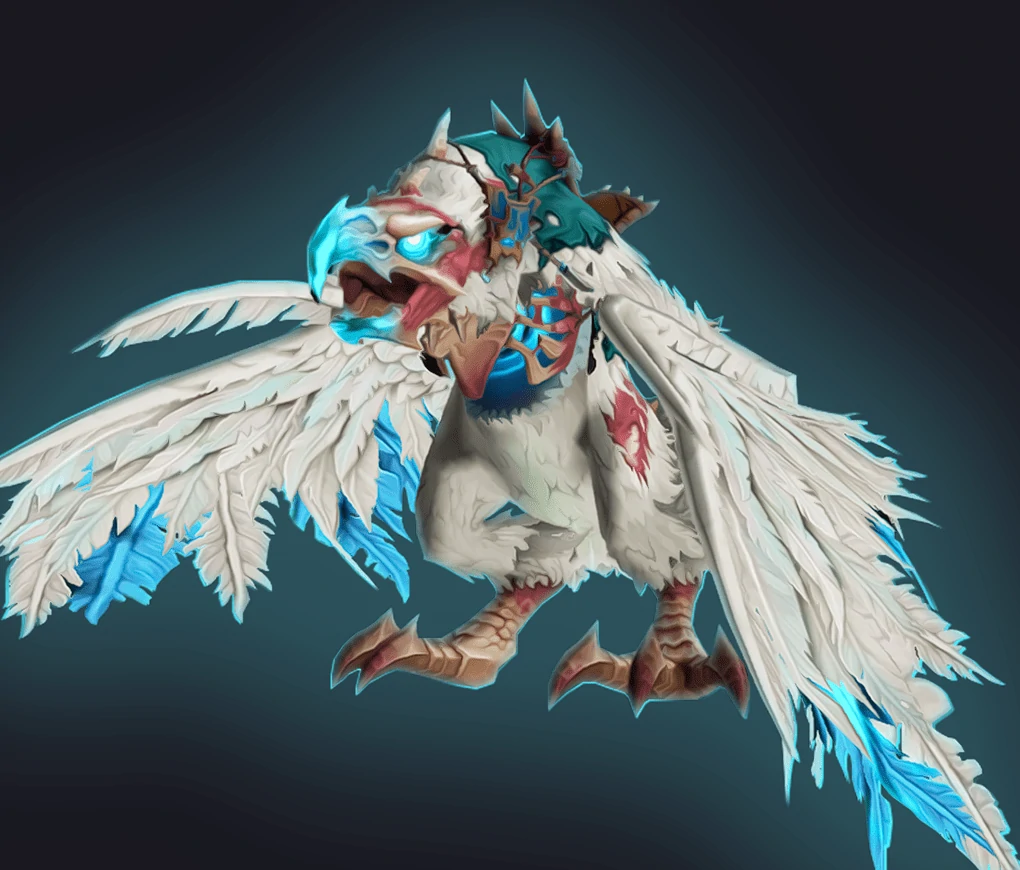
A dual-target fight that demands precise health balancing. Muro'jin is the hunter — he lays Freezing Traps, fires Barrages, and hurls spears. Nekraxx is the eagle — she charges players, spreads necrotic feathers, and enters a fury if Muro'jin dies before her. Both share neither health pool nor death — kill them too far apart and the surviving boss becomes significantly more dangerous. The core interaction of the fight is using Freezing Traps to interrupt and stun Nekraxx's Carrion Swoop charge.
Muro'jin's Abilities
Freezing Trap — Muro'jin throws traps at several players which, when triggered, incapacitate the triggering player for 8 sec. On Mythic+, triggered traps also create an Icy Slick, inflicting 5 Frost damage every 1 sec to players within and causing them to slide.
Barrage — Muro'jin rapidly fires a spray of venomous arrows for 5 sec, inflicting 4 Plague damage every 0.5 sec to players within the volley and applying Vilebranch Sting.
Vilebranch Sting — Muro'jin's venom-tipped arrows paralyze their targets, reducing their movement speed by 5% for 10 sec. This effect stacks.
Flanking Spear — Muro'jin repositions behind his target and hurls a massive spear, inflicting 277,337 Physical damage, knocking the target backwards, and applying Open Wound.
Open Wound — Muro'jin causes his target to bleed profusely, inflicting 36,978 Physical damage every 1 sec for 10 sec.
Revive Pet — Muro'jin revives Nekraxx, returning them to life with 35% of their health. Cast if Nekraxx dies before Muro'jin.
Nekraxx's Abilities
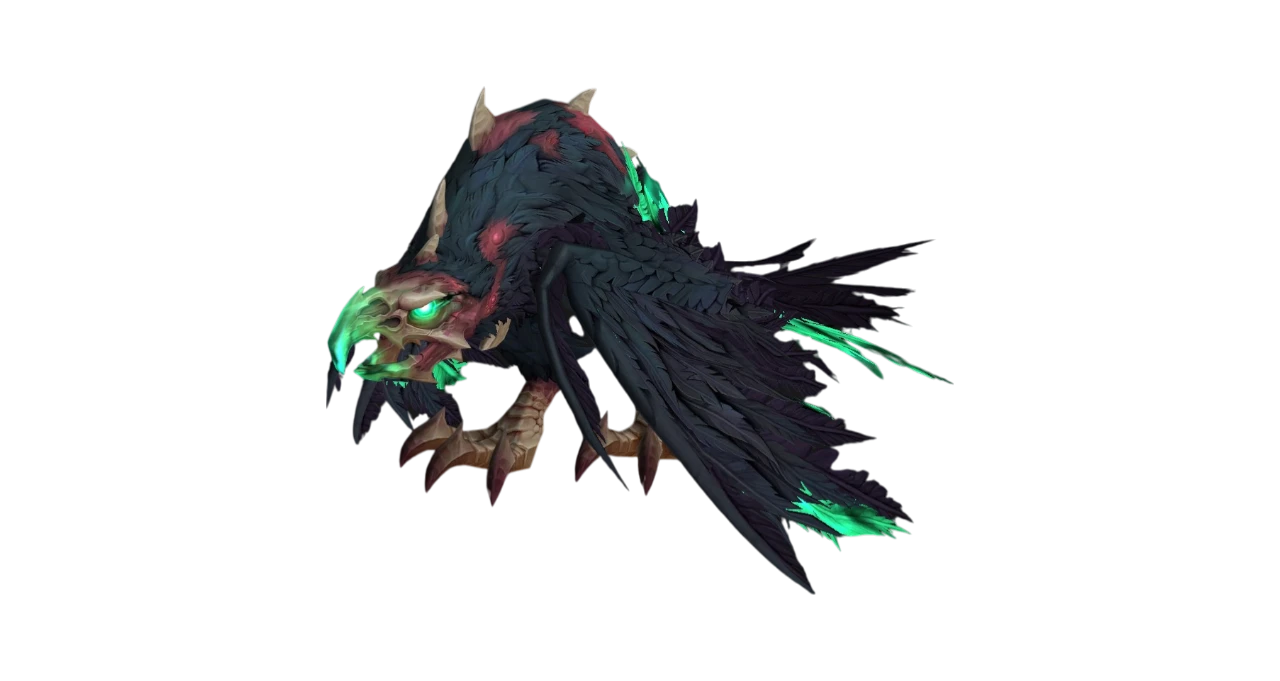
Carrion Swoop — Nekraxx charges towards a player, inflicting 18 Shadow damage to any players struck and knocking them upwards. If Nekraxx strikes a player incapacitated by Freezing Trap, the trap shatters, ending the effect, stopping the charge, and stunning Nekraxx for 5 sec. On Mythic+, Muro'jin hurls an axe at players knocked up by Carrion Swoop via Coordinated Assault, inflicting 231,114 Physical damage and knocking them further upwards.
Coordinated Assault — Muro'jin hurls an axe at players knocked up by Carrion Swoop, inflicting 231,114 Physical damage and knocking them further upwards.
Fetid Quillstorm — Nekraxx soars to a location and releases a surge of dark energy, inflicting 115,557 Shadow damage to players within 10 yards and flinging quills which inflict 25 Shadow damage to players within 3 yards.
Infected Pinions — Nekraxx pierces all players with festering feathers, inflicting 11,556 Plague damage every 1 sec for 30 sec. Dispel this immediately.
Bestial Wrath — Nekraxx enters a frenzy when Muro'jin is defeated, increasing their damage done by 20% every 4 sec. This stacks until she is killed.
Role Strategy
Tanks: Track your position relative to Freezing Traps on the ground — Flanking Spear knocks you back and landing in a trap immediately incapacitates you. Use a defensive on every Flanking Spear. Keep both bosses close together to simplify damage balancing for the group.
Healers: Infected Pinions is your priority dispel — 11,556 Plague per second for 30 seconds kills players who aren't cleansed quickly. The necrotic debuff from Barrage also stacks movement slow, so players hit by multiple volleys become sitting targets for follow-up mechanics.
DPS: Balance damage between Muro'jin and Nekraxx constantly — kill them within seconds of each other. When Nekraxx targets a player with Carrion Swoop, that player must step onto a Freezing Trap before the charge lands to stun her. Step onto the trap, not behind it — the interaction requires the trap to trigger on the targeted player. If targeted by Barrage, stay still and use a defensive — moving spreads the cone into allies.
Boss Tips
- Defeat the bosses at the same time.
- When targeted by Carrion Swoop, step onto (not behind) a Freezing Trap.
- If targeted by Barrage, stand still and use a defensive. If not targeted, move out of the cone.
Boss 2 — Vordaza
A phantom management fight. Vordaza constantly spawns Unstable Phantoms through Wrest Phantoms — each phantom chases a player with Final Pursuit and explodes on contact, inflicting Lingering Dread on all players. The more phantoms that explode simultaneously, the more Lingering Dread stacks accumulate. At a certain point those stacks wipe the group. The goal is detonating phantoms one at a time, in sets of two, to prevent stack buildup. During Necrotic Convergence, Vordaza gains an absorb shield and becomes interrupt-immune until the shield breaks.

Abilities
Necrotic Convergence — Vordaza protects herself with Deathshroud and unleashes waves of necrotic energy inflicting 23,111 Shadow damage to all players every 2 sec for up to 1 min. Damage grows in intensity over time.
Deathshroud — Vordaza wraps herself in a shroud, absorbing the next 786,548 damage for 1 min and becoming immune to interrupts while the shield holds.
Coalesced Death — While channeling Necrotic Convergence, Vordaza forms soul ichor into masses. Each mass inflicts 115,557 Shadow damage to players struck.
Wrest Phantoms — Vordaza wrests fresh sacrifices to do her bidding, manifesting Unstable Phantoms that seek out players.
Final Pursuit — The phantom pursues a player until their demise. Upon reaching their target or another Unstable Phantom, they explode, inflicting 50 Shadow damage to players within 3.5 yards.
Haunting Remains — Final Pursuit leaves spectral remains on players struck, increasing their damage taken from Final Pursuit by 200% for 20 sec.
Soulrot — Unstable Phantoms leave behind a pool of necrotic residue when slain, inflicting 46,223 Shadow damage every 1.5 sec to players within.
Lingering Dread — The phantom screams when slain, inflicting 23,111 Shadow damage to all players and an additional 6,933 Shadow damage every 1 sec for 4 sec. This effect stacks.
Unmake — Vordaza unleashes a surge of soulflaying force for 4.5 sec, inflicting 12 Shadow damage every 0.5 sec to players caught in the blast and pushing them away.
Drain Soul — Vordaza drains the soul from her current target, inflicting 46,223 Shadow damage and absorbing the next 10 healing received every 1 sec for 4 sec.
Withering Miasma — Vordaza suffuses the area with a stench of decay, inflicting 13,867 Shadow damage to all players every 2 sec.
Role Strategy
Tanks: Use defensives during every Drain Soul — the healing absorption on top of the direct damage makes natural recovery slow. During Necrotic Convergence, focus on breaking the Deathshroud shield as fast as possible to restore interrupt access. Keep Vordaza positioned away from Soulrot pools left by slain phantoms.
Healers: Lingering Dread stacks are your primary concern. Two phantoms dying simultaneously applies double the stack — track phantom positions and communicate detonation timing. During Necrotic Convergence, save a major cooldown for the escalating damage. Dispel curses actively throughout the fight to keep the group's health ceiling manageable.
DPS: Detonate phantoms in sets of two — kite them into each other deliberately in pairs. Doing this in sets of two prevents Lingering Dread from stacking beyond recoverable levels. Use a personal defensive before triggering a detonation. After the phantom dies, immediately move out of the Soulrot pool it leaves behind. During Necrotic Convergence, switch full damage to breaking Deathshroud. Adds can be hard CC'd to make them easier to collide at the correct time.
Boss Tips
- Kite adds into each other to detonate them. Do this in sets of two to prevent stacking a debuff.
- End the intermission phase by breaking the shield while dodging orbs.
Boss 3 — Rak'tul, Vessel of Souls
The final boss and the most mechanically layered fight in the dungeon. Rak'tul alternates between a physical phase and a spirit realm intermission. In the physical phase he drops Soulbind Totems, leaves Spectral Decay zones under the tank, and periodically erupts for group-wide damage. In the intermission he tears players' souls from their bodies — everyone enters the spirit realm and must navigate back while interrupting Malignant Souls to collect a stacking damage buff. Totems left alive when Soulrending Roar triggers deal 115,557 damage per totem to all players.
Abilities
Crush Souls — Rak'tul leaps and slams down on multiple players in quick succession, inflicting 20 Shadow damage to players within 5 yards and planting a Soulbind Totem.
Soulbind Totem — The totem ensnares a player, inflicting 9,245 Shadow damage every 1 sec and drawing them towards the totem. Chill of Death inflicts 46,223 Shadow damage every 0.5 sec to players within 0 yards of the totem.
Spiritbreaker — Rak'tul pummels his target twice, inflicting 35 Physical damage with each strike, then delivers a final empowered blow inflicting 127,113 Shadow damage and launching the target high into the air. The final blow leaves behind a patch of Spectral Decay.
Spectral Decay — The decaying essence inflicts 27,734 Shadow damage every 1 sec to players within and increases their damage taken by 30%.
Deathgorged Vessel — Rak'tul's engorged form ruptures every 6 sec, inflicting 55,467 Shadow damage to all players and ejecting several Volatile Essences.
Volatile Essence — Globules of unstable essence burst, inflicting 92,446 Shadow damage to players within 2 yards of impact.
Soulrending Roar — Rak'tul roars with tremendous force, applying Withering Soul to players as their souls are torn asunder and awakening the Restless Masses.
Shattered Totem — The force of Rak'tul's roar shatters any Soulbinding Totems still present, inflicting 115,557 Shadow damage to all players per totem.
Withering Soul — While in an incorporeal form, the target suffers 2,311 Shadow damage every 1 sec. This effect stacks every 4 sec. Returning to the realm of the living removes this effect.
Restless Masses — Rak'tul's terrible roar awakens Lost Souls and Malignant Souls, impeding players' path back to the realm of the living.
Lost Soul — Cries of the Fallen — The soul cries out upon contacting a player, inflicting 23,111 Shadow damage and rooting them for 3 sec.
Malignant Soul — Eternal Suffering — The soul harries players within range, reducing their movement speed by 60%. When interrupted, the soul is extinguished, afflicting all players with Spectral Residue — increasing movement speed by 25% and increasing damage, healing and absorption effects done by 25% for 25 sec. This effect stacks.
Soul Expulsion — Rak'tul enters a stupor after Soulrending Roar, becoming stunned for 45 sec and periodically expelling souls which inflict 28 Shadow damage to players within 4 yards of each impact.
Role Strategy
Tanks: Spiritbreaker leaves Spectral Decay permanently where you stand when the final blow lands — position yourself on the edge of the arena or in pre-designated zones so each new patch doesn't cover the group's fight space. Use a major defensive on every Spiritbreaker combo. Keep the boss away from existing Spectral Decay zones so the group can stand freely.
Healers: The physical phase has manageable damage outside of Deathgorged Vessel pulses and Spiritbreaker. Save cooldowns for the transition into Soul Expulsion — the stupo period has frequent soul impacts requiring spot healing. In the spirit realm, prioritize keeping players moving — Withering Soul stacks every 4 seconds and players who get rooted by Lost Souls fall dangerously behind.
DPS: Crush Souls totems are the top priority every time they appear — a totem alive at Soulrending Roar deals 115,557 to everyone. Burn all totems before the roar. During Soulrending Roar, run back to Rak'tul while interrupting every Malignant Soul you pass — each interrupt gives the group a stacking 25% damage, healing and absorption buff via Spectral Residue. Interrupt, CC, or displace all adds on the way back to stack as many buffs as possible before engaging the stunned boss. Pop all offensive cooldowns during the 45-second Soul Expulsion stun window.
Boss Tips
- When targeted by Crush Souls, stand near your allies and dodge the leaps. Defeat the resulting totems.
- During the intermission, run back to the boss while dodging ghosts. Interrupt, CC or displace all adds on the way back to get a massive damage buff.
Elite Trash — Know These Packs
Ritual Hexxer — Casts Hex and applies a Hex dispel simultaneously. Both must be handled — one player interrupts the cast, another dispels the magic debuff from whoever gets hit. Missing both in the same pull is a wipe-level mistake at higher key levels.
Hex Guardian — Applies Ritual Firebrand, a magic debuff that must be dispelled. Prioritize dispelling this on the tank or anyone taking other sustained damage.
Reanimated Warrior — Casts Reanimate (interrupt) and applies Spirit Rend (dispel). Assign dedicated coverage for both in every pack containing this mob.
Hollow Soulrender — Casts Shadowfrost Blast (interrupt priority) and applies Frost Nova (dispel). The freeze from Frost Nova in combination with other mechanics in the same pull can chain-kill players — keep dispels ready.
Keen Headhunter — Casts Hooked Snare, which roots and deals sustained damage. Interrupt on cooldown.
Tormented Shade — Casts Spirit Rend. Secondary interrupt priority when Hollow Soulrender and Reanimated Warrior are both in the same pull.
Tips and Tricks
- Go right at the initial fork to avoid more Hex Guardians and pick up the Hearty Vilebranch Stew buff.
- On Vordaza (B2), adds can be hard CC'd to make them easier to collide at the correct time.
- The player chosen by Death's Grasp on Rokh'zal can escape quickly by using a Root-breaking ability.
- While crossing the final bridge, hug either side to avoid the bouncing balls.
Best Maisara Caverns Loot — Mythic+ Season 1
| Item |
Slot |
Boss Drop |
| Vessel of Tortured Souls |
Trinket |
Rak'tul, Vessel of Souls |
| Soulcatcher's Charm |
Trinket |
Vordaza |
| Liferipper's Cutlass |
2H Strength Sword |
Rak'tul, Vessel of Souls |
| Traitor's Talon |
2H Polearm |
Muro'jin and Nekraxx |
| Deceiver's Rotbow |
Ranged Bow |
Muro'jin and Nekraxx |
POPULAR NEWS


