- Home
- News
- WoW Midnight
- The Blinding Vale Dungeon Guide: Bosses, Mythic+ Strategy, Loot and Rewards
The Blinding Vale Dungeon Guide: Bosses, Mythic+ Strategy, Loot and Rewards
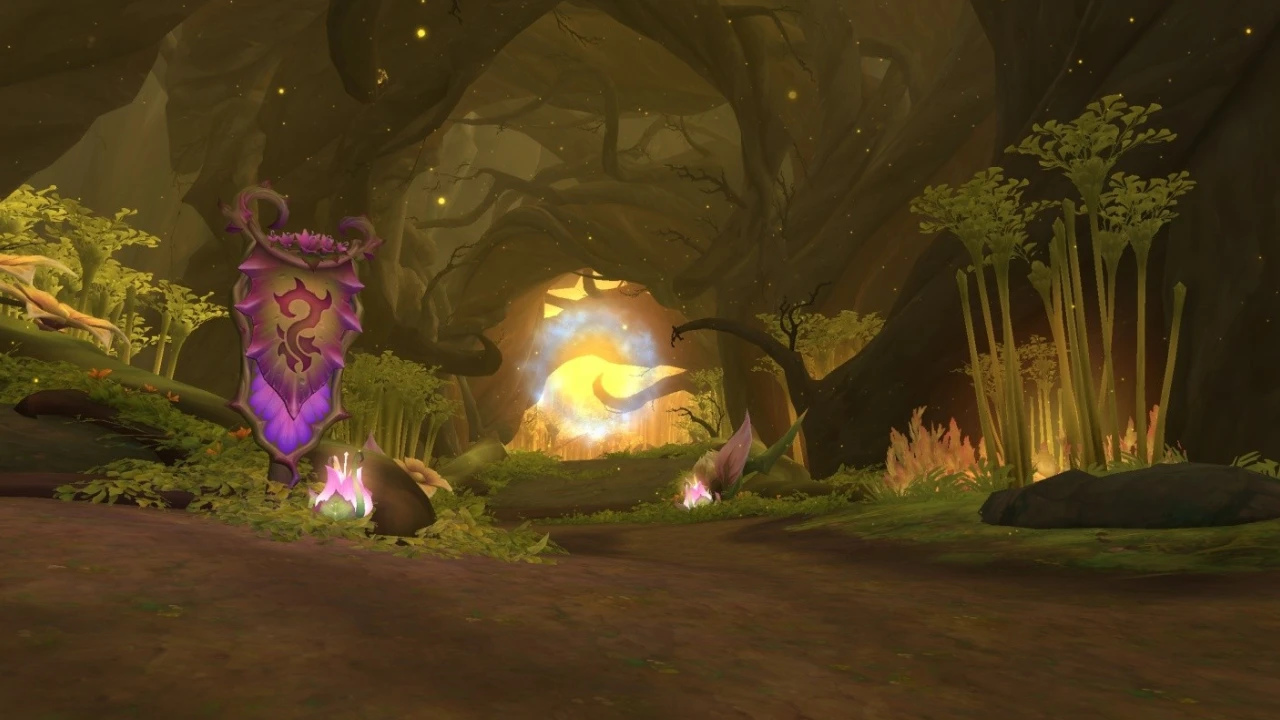
The Blinding Vale is a four-boss Midnight dungeon featured in the Season 2 Mythic+ rotation. The dungeon is located in Harandar and uses a 31-minute Mythic+ timer.
The dungeon is built around Lightbloom growth, root mechanics, dangerous nature and holy damage, boss add control, and several movement checks. Groups need clean interrupts, quick root breaks, careful orb soaks, and strong positioning to keep the dungeon stable in Mythic+.
Quick Dungeon Overview
| Feature | Details |
|---|---|
| Dungeon | The Blinding Vale |
| Expansion | World of Warcraft: Midnight |
| Location | Harandar |
| Boss Count | 4 bosses |
| Required Level | 90 |
| Difficulties | Heroic, Mythic, Mythic+ |
| Mythic+ Timer | 31 minutes |
The Blinding Vale Location and Entrance
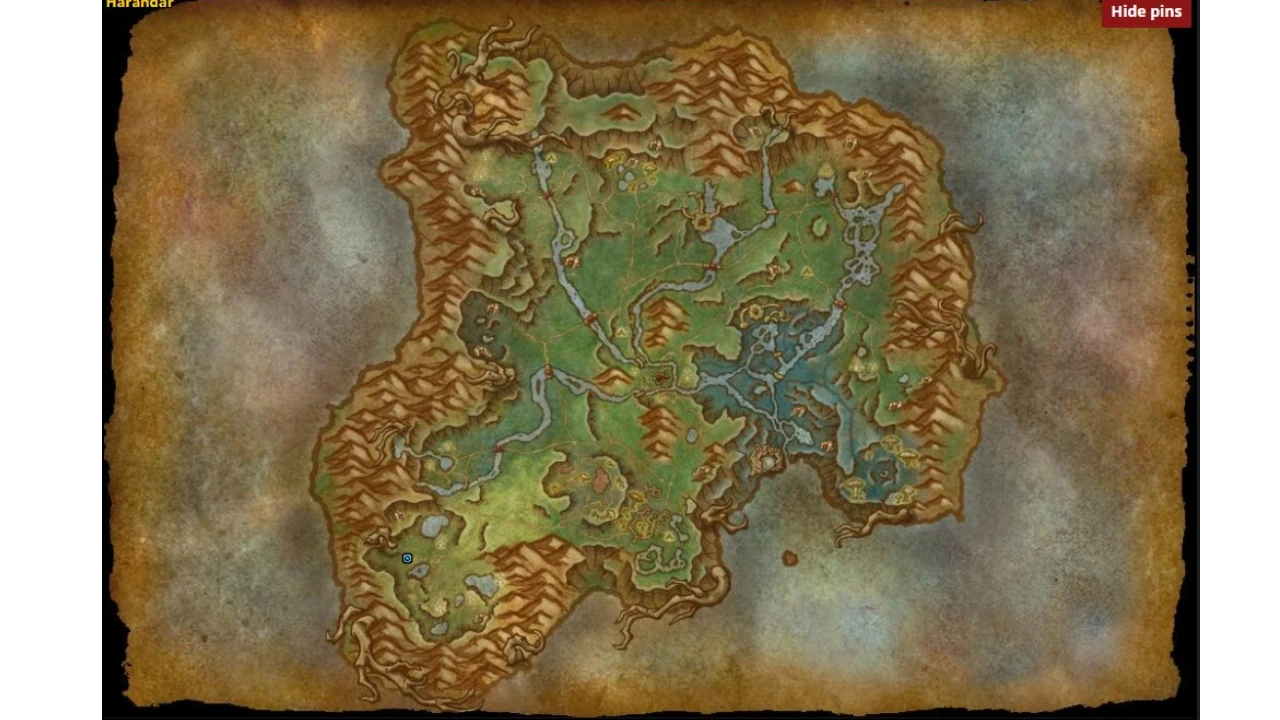
The Blinding Vale entrance is located in Harandar. Players can teleport to Harandar from Silvermoon City using the portal at /way #2393 36.8 68.4.
The dungeon entrance waypoint is /way #2576 27.8 77.9.
Players who time The Blinding Vale on +10 or higher unlock the dungeon teleport spell Path of the Blooming Verdure.
| Location | Waypoint |
|---|---|
| Harandar Portal in Silvermoon City | /way #2393 36.8 68.4 |
| The Blinding Vale Entrance | /way #2576 27.8 77.9 |
Bosses in The Blinding Vale
| Order | Boss | Main Strategy |
|---|---|---|
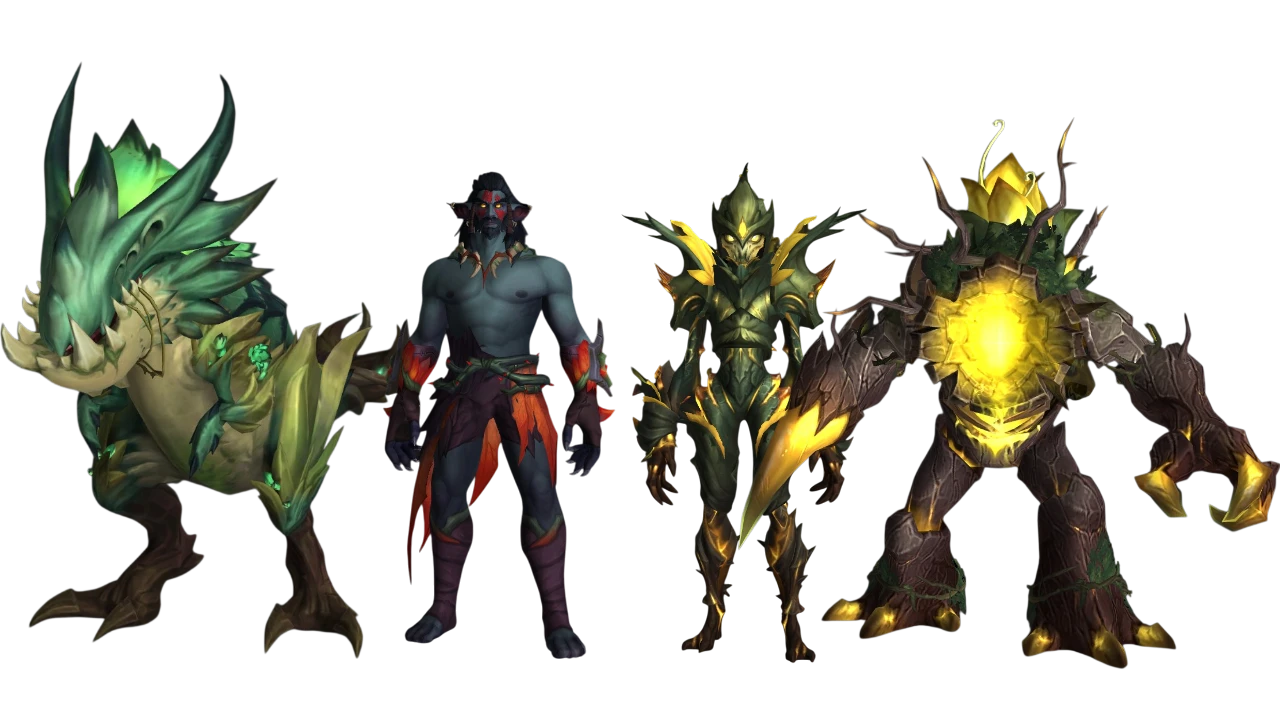
| 1 | Lightblossom Trinity | Block Lightblossom Beam, dodge Lightsower Dash, spread for Thornblade, and avoid Fan Of Thorns. |
| 2 | Ikuzz the Light Hunter | Break Bloodthorn Roots, survive Verdant Stomp, and run away during Bloodthirsty Gaze. |
| 3 | Lightwarden Ruia | Spread for Lightfire, heal Grievous Thrash to full, and handle Pulverizing Strikes cones cleanly. |
| 4 | Ziekket | Kill Lightspawn Lashers, aim Concentrated Lightbeam at dormant adds, and soak Lightbloom orbs carefully. |
Important Interrupts, Dispels and Purges
| Type | Ability | Source | Action |
|---|---|---|---|
| Interrupt | Light Bolt Volley | Radiant Spellsower | Interrupt to prevent group-wide Holy damage. |
| Interrupt | Light Bolt | Kezkitt | Stop the cast during the Lightblossom Trinity encounter. |
| Interrupt | Disorienting Screech | Lightfeather Petalwing | Interrupt to avoid a disorient on the group. |
| Interrupt | Warden's Wrath | Lightwarden Ruia | Interrupt during Moonkin form when possible. |
| Interrupt | Lightspore Shot | Lightspawn Lasher / Ziekket Encounter | Interrupt add casts before they stack avoidable damage. |
| Dispel / Break | Bloodthorn Roots | Ikuzz the Light Hunter | Remove or destroy roots quickly so players can move. |
Boss Strategy
Lightblossom Trinity Strategy
Lightblossom Trinity is a shared-health trio made up of Meittik, Lekshi, and Kezkitt. Because the bosses share damage through Thicket's Trinity, players can keep pressure on the active target while handling the Lightblossom mechanics properly.
The main mechanic is Lightblossom Beam. Players need to block the beam before the flowers gain too many Light-Gorged stacks. Step into the beam path, not directly in front of the Lightblossom, to prevent the dangerous overgrowth damage from ramping too high.
Dodge Lightsower Dash, spread for Thornblade, and move away from Lekshi after Fan Of Thorns starts. On Mythic+, the fight rewards clean movement more than raw damage.
Ikuzz the Light Hunter Strategy

Ikuzz the Light Hunter is a root and chase encounter. Verdant Stomp knocks players back and causes Bloodthorn Roots to emerge at player locations.
Destroy or dispel roots quickly so the group can keep moving. When Ikuzz uses Bloodthirsty Gaze, the targeted player must run away. If Ikuzz reaches the target, he uses Incise and can stun the player afterward.
The fixated player can help by moving Ikuzz near Bloodthorn Roots, since his Crushing Footfalls can crush roots nearby. Healers should also be ready for Thorncaller Roar and the extra Holy damage from Lightcrazed Frenzy.
Lightwarden Ruia Strategy

Lightwarden Ruia swaps between Moonkin and Bear forms before entering Haranir form at low health. In Moonkin form, watch for Lightfire and Warden's Wrath. Spread properly so Lightfire beams do not cut off safe space.
In Bear form, Ruia uses Pulverizing Strikes, which launches cones toward marked players. The cones lock onto players, so do not try to dodge wildly after being targeted. Stand still and aim the cones safely away from the group.
Grievous Thrash leaves a bleed that is removed when the target is healed to full. On Mythic+, Ruia's final Haranir phase is dangerous because Spirits of the Vale makes him cast his abilities in a rapid cycle until the boss dies.
Ziekket Strategy
Ziekket is the final boss and the main add-control check of The Blinding Vale. Awaken the Lightbloom summons Lightspawn Lashers and can reawaken dormant adds if they are not handled correctly.
DPS should bring Lashers down, then use Concentrated Lightbeam to destroy dormant Lashers and turn them into Lightsap. Aim the beam carefully so adds are removed before they reawaken with Vicious Regrowth.
Players can soak Lightbloom's Essence orbs to gain a damage and healing buff, but the soak also deals Holy damage over time. Do not over-stack the buff without healer support, especially during Oozing Xylem.
Trash Tips for Mythic+
- Assign interrupts before big pulls. Light Bolt Volley, Disorienting Screech, and Lightspore Shot can quickly turn trash packs into healer checks.
- Choose your route cleanly. Wowhead notes that players can go left or right in The Blinding Vale, so groups should decide the route before the key starts.
- Focus Lightgorged Lashers. These enemies heal nearby mobs while their shield is active, so break the shield and kill them before the pull drags on.
- Respect Sporeblight Belchers. These trash enemies are called out as dangerous and should not be stacked recklessly with other heavy damage packs.
- Plan defensives for boss overlaps. Ruia's final phase and Ziekket's orb/add cycles can punish groups that spend every cooldown too early.
The Blinding Vale Loot Table
| Item | Slot | Boss |
|---|---|---|
| Worldroot Canopy | Cloth Helm | Ziekket |
| Lightblossom Cinch | Cloth Waist | Lightblossom Trinity |
| Rootwarden Wraps | Leather Wrist | Lightblossom Trinity |
| Rootwalker Harness | Leather Waist | Ikuzz the Light Hunter |
| Lightspore Leggings | Leather Legs | Ziekket |
| Saptorbane Guards | Mail Wrist | Ziekket |
| Pulverizing Pads | Mail Hands | Lightwarden Ruia |
| Ironroot Collar | Mail Shoulders | Lightblossom Trinity |
| Thornspike Gauntlets | Plate Hands | Ziekket |
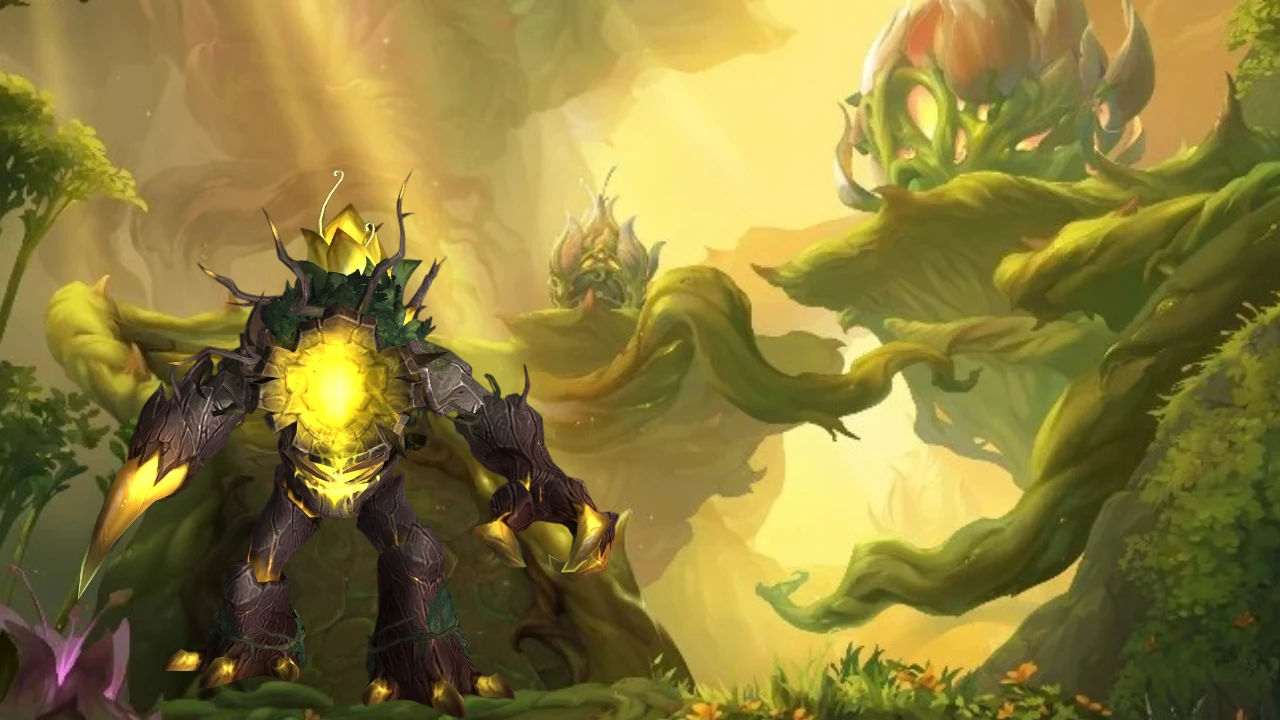
| Taproot Ribs | Plate Chest | Lightwarden Ruia |
| Bedrock Breeches | Plate Legs | Lightblossom Trinity |
| Lightwarden's Bind | Ring | Lightwarden Ruia |
| Bloodthorn Burnous | Back | Ikuzz the Light Hunter |
| Thornblade | 1H Dagger | Lightblossom Trinity |
| Thorntalon Edge | 1H Fist Weapon | Ikuzz the Light Hunter |
| Thorned Reply | 1H Sword | Ziekket |
| Branch of Pride | 2H Staff | Lightwarden Ruia |
| Pruning Lance | 2H Polearm | Lightblossom Trinity |
| Amirdrassil's Reach | Ranged Crossbow | Ikuzz the Light Hunter |
| Doompetal | Ranged Wand | Ikuzz the Light Hunter |
| Luminescent Sprout | Off-Hand Weapon | Lightwarden Ruia |
| Teldrassil's Sacrifice | Shield | Ziekket |
| Seed of Radiant Hope | Trinket | Lightblossom Trinity |
| Seed of the Devouring Wild | Trinket | Ikuzz the Light Hunter |
| Lightspire Core | Trinket | Lightwarden Ruia |
| Sapling of the Dawnroot | Trinket | Ziekket |
Special Rewards
| Reward | Source |
|---|---|
| Veilroot Fountain | Housing Decor from Ziekket |
| Saptor Salve | Toy with a chance to drop from Ziekket on Mythic or Mythic+ difficulty |
| Pattern: Primal Spore Binding | Leatherworking recipe from The Blinding Vale bonus loot |
| Pattern: World Tender's Trunkplate | Leatherworking recipe from The Blinding Vale bonus loot |
| Keystone Hero: The Blinding Vale | Complete The Blinding Vale at Mythic Level 10 or higher within the time limit |
Achievements
| Achievement | Requirement |
|---|---|
| The Blinding Vale | Defeat Ziekket in The Blinding Vale. |
| Heroic: The Blinding Vale | Defeat Ziekket in The Blinding Vale on Heroic difficulty or higher. |
| Mythic: The Blinding Vale | Defeat Ziekket in The Blinding Vale on Mythic or Mythic Keystone difficulty. |
| Keystone Victor: The Blinding Vale | Complete the dungeon in Mythic+ within the required rating range. |
| Keystone Hero: The Blinding Vale | Complete The Blinding Vale at Mythic Level 10 or higher within the time limit. |
| Mythic: The Blinding Vale Guild Run | Defeat Ziekket on Mythic difficulty while in a guild group. |

FAQ
Where is The Blinding Vale located?
The Blinding Vale is located in Harandar. The dungeon entrance waypoint is /way #2576 27.8 77.9.
How many bosses are in The Blinding Vale?
The Blinding Vale has four bosses: Lightblossom Trinity, Ikuzz the Light Hunter, Lightwarden Ruia, and Ziekket.
What is The Blinding Vale Mythic+ timer?
The Mythic+ timer for The Blinding Vale is 31 minutes.
How do you unlock The Blinding Vale teleport?
You unlock Path of the Blooming Verdure by timing The Blinding Vale on +10 or higher.
Does The Blinding Vale drop profession recipes?
Yes. The Blinding Vale can reward Leatherworking recipes as bonus loot, including Pattern: Primal Spore Binding and Pattern: World Tender's Trunkplate.
Can you get Saptor Salve from The Blinding Vale?
Yes. Saptor Salve has a chance to drop from Ziekket on Mythic or Mythic+ difficulty.