- Home
- News
- WoW Midnight
- Skyreach Mythic+ Guide — WoW Midnight Season 1

Skyreach Mythic+ Guide — WoW Midnight Season 1
WoW Midnight · Season 1 · Mythic+ · Originally from Warlords of Draenor
Skyreach is back. The floating arakkoa citadel from Draenor returns to the Mythic+ pool in Midnight Season 1 with four bosses, punishing fall-off mechanics, and elite packs that can wipe a group faster than any boss if you ignore them. This guide breaks down every boss and every dangerous trash pull so you know exactly what to do before you zone in.
Dungeon Overview
Skyreach is a linear dungeon — no branching paths, no skips that matter. You move through four boss encounters connected by trash packs, almost all of which take place on open platforms. Falling off is an instant death. Every fight in this dungeon respects that geography, and most wipes come from players getting knocked or dragged to edges rather than from damage spikes.
Four bosses in order: Ranjit → Araknath → Rukhran → High Sage Viryx.
Key Interrupts & Dispels
These are the most critical casts to interrupt and dispel in the entire dungeon. Missing them costs the group more than any other single mistake.
Key Interrupts:
- Repel — Driving Gale-Caller
- Blinding Light — Blinding Sun Priestess
- Solar Blast — High Sage Viryx
Key Dispels:
- Blade Rush — Adorned Bladetalon
Assign interrupts before the run starts. Blinding Light in particular is a wipe if it lands — the Solar Elemental paired with Blinding Sun Priestesses drops zones under players while the group is blinded and unable to react.
Boss 1 — Ranjit

The opening boss is a positioning fight. Ranjit throws chakrams, spawns knockback zones, and eventually covers the platform in cyclones. Players who stand in the wrong place die. Players who track the indicators survive comfortably.
Abilities
Fan of Blades — Ranjit throws razor sharp blades in all directions, inflicting 50,845 Physical damage and causing players to bleed for 30,507 Physical damage every 2 sec for 6 sec.
Wind Chakram — Ranjit hurls a wind chakram in front of him, inflicting 152,535 Nature damage to all players caught in its path.
Chakram Vortex — Ranjit throws a powerful wind chakram to the center of the platform, inflicting 127,113 Nature damage to players within 10 yards of the impact area. The chakram continues to spin, inflicting 76,268 Nature damage to players it hits and knocking them back. The chakram then forms raging wind vortexes that trail around the platform, inflicting 76,268 Nature damage to any enemy hit and knocking them in the air.
Gale Surge — Ranjit blasts target players with a powerful gust of wind, inflicting 71,183 Nature damage, knocking them back and leaving behind a Coalesced Wind.
Coalesced Wind — Unleashes a powerful gust of wind that inflicts 101,690 Nature damage to target player and knocking them back.
Role Strategy
Tanks: Position Ranjit at the platform's edge. This gives the group maximum space to safely drop Spinning Grips zones and dodge cyclones without running into existing hazards. The boss has no special tank mechanic — just hold position and keep him faced away from the group.
Healers: Constant raid damage from Fan of Blades bleeds runs throughout the fight. Don't blow major cooldowns early — save them for Four Winds, where incoming damage on the group spikes sharply while every other mechanic is still active simultaneously.
DPS: Avoid zones and dodge cyclone paths. During Four Winds, pop personal defensives — this is the phase that kills unprepared DPS players. Track the chakram arrow indicators and move before the ability lands, not after.
Boss Tips
- Avoid getting knocked off when dropping Gale Surge near the edge of the platform.
- Dodge the Wind Chakrams line attack and Chakram Vortex tornadoes.
Boss 2 — Araknath

The beam-blocking boss. Araknath is a DPS accountability check — three beams constantly point at the boss, healing him and building damage stacks unless players physically stand in the beams and take the hits themselves. Let the beams connect and the fight spirals into an unkillable wipe scenario within minutes.
Abilities
Energize — The caster focuses the incoming light rays at the Arrakoa Sun Construct, healing it for 1% every 0.5 sec. Players blocking the light rays will be afflicted with Solar Flame.
- Solar Flame — The solar beam inflicts 11,556 Fire damage every 1 sec to players standing in it.
- Solar Infusion — Araknath infused with solar energy, inflicts 2 Fire damage to all players and increases Supernova's damage done by 5%. This effect stacks. Solar Infusion is consumed upon Supernova.
Supernova — Araknath releases a burst of energy that inflicts 92,446 Fire damage to all enemies.
Fiery Smash — Araknath smashes the ground with solar energy, inflicting 184,891 Fire damage to all players within the impact area and increases their Fire damage taken by 100% for 1 min. This effect stacks.
Blast Wave — When Araknath is not in melee combat, it unleashes a wave of solar energy that inflicts 32,356 Fire damage to all players and an additional 9,245 Fire damage every 1 sec for 20 sec. This effect stacks.
Role Strategy
Tanks: Get out of every Smash cone — you can absorb one, two kills you. Don't aim Heat Wave beams at players who are blocking Energize beams. Forcing a beam-blocker to dodge sends a beam through to the boss, triggering healing and Solar Power stacks.
Healers: Players blocking beams take continuous damage. Keep beam-blockers healthy without burning major cooldowns, because Supernova requires a real response the moment it lands. Spread healing throughput between beam damage and burst healing after each Supernova.
DPS: Blocking beams is your first job. Damage is second. Three players covering three beams at all times makes this fight straightforward. Let one beam through because you wanted an extra second of DPS uptime and you're explaining the wipe to your group.
Boss Tips
- Soak all 3 Energize beams to prevent the boss from healing.
- The tank should aim the boss away from beams, then dodge Fiery Smash.

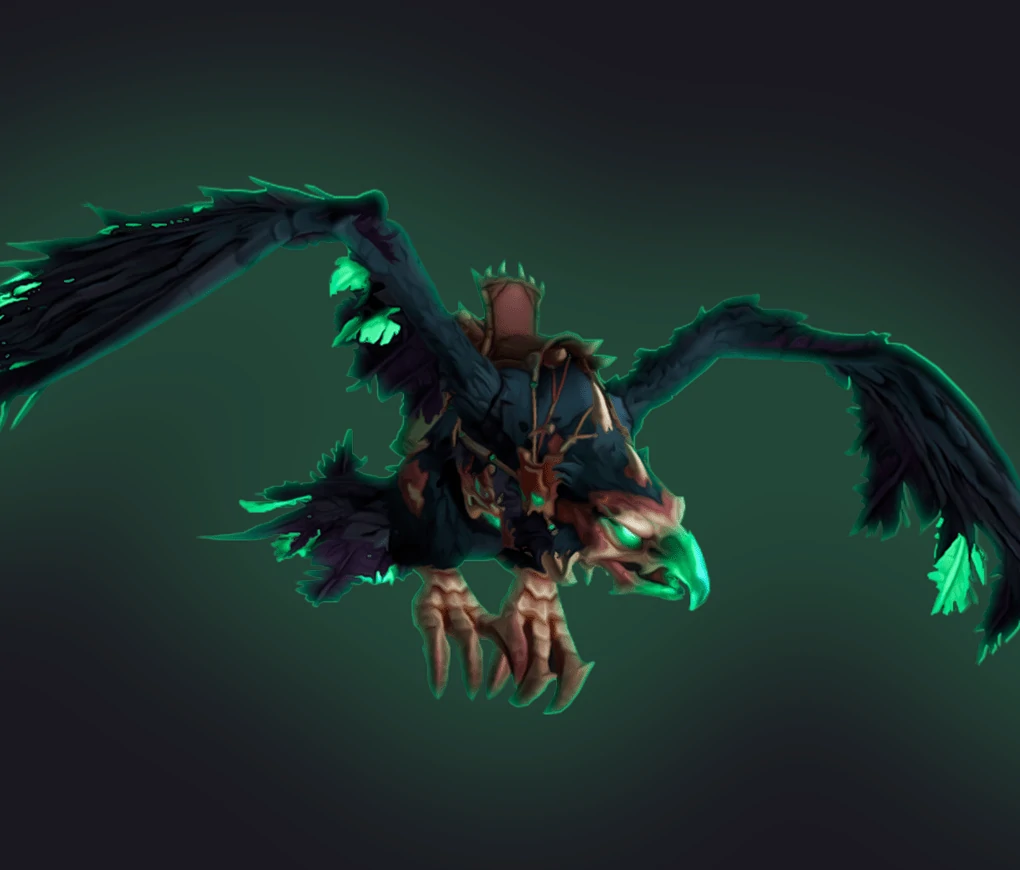
Boss 3 — Rukhran

A movement fight built around add management and a hard-cover mechanic. Rukhran summons birds that chase players, leave eggs when they die, and wipe the group if two eggs end up in the same spot. The fight also has a mandatory channel phase where the entire arena is dangerous — except behind a single pillar.
Abilities
Sunbreak — Unleashes a wave of solar energy that inflicts 23,111 Fire damage to all players and summons a Sunwings.
- Breaking Dawn — Dive at a player's location, inflicting 92,446 Fire damage to all enemies within 6 yards of impact.
- Solar Flare — Dawnwings pulses its fiery energy, inflicting 27,734 Fire damage to all enemies every 2 sec.
- Burning Pursuit — Dawnwings fixates on a random player.
- Blaze of Glory — Sunwings unleashes a devastating blast before its death, inflicting 138,668 Fire damage to enemies within 8 yards of impact.
Searing Quills — Rukhran unleashes waves of flaming feathers onto its enemies, inflicting 102,956 Fire damage every 1 sec to enemies out in the open for 3 sec.
Burning Claws — Slashes the target enemy with burning claws, inflicting 184,891 Physical damage. Also causes the target to burn, inflicting Fire damage every 2 sec for 8 sec.
Screech — Rukhran unleashes a deafening screech when there is no player in melee range, inflicting 161,780 Sonic damage to all enemies in the area.
Role Strategy
Tanks: You can't move Rukhran — he anchors at the platform edge. Your job is tracking where Sunwings die. Position yourself to give the chased player a path that keeps eggs away from each other. Use CC when available to redirect dying birds to safe ground.
Healers: Sunwing damage hits everyone every 2 seconds until it dies — that's sustained group damage layered on top of whatever else is happening. Save something meaningful for the Searing Feathers recovery after everyone takes the pillar-covered channel. Use CC on Sunwings if your class has it.
DPS: When a Sunwing chases you, route it away from existing eggs. If there's already an egg in the corner, don't run to the corner. Use knockbacks, grips, and CC to steer the Sunwing to clean ground before it dies. Two live adds is almost always a wipe — treat egg placement as your primary responsibility when you're the target.
Boss Tips
- Quickly kill Sunwing adds away from other defeated Sunwings to avoid them respawning.
- During Searing Quills, line of sight the boss behind the center pillar.
Boss 4 — High Sage Viryx

The final boss combines a priority add kill, a moving beam that leaves permanent hazard zones, and heavy tank damage. Viryx fights on an open platform — staying near the edges while managing the beam or the add simultaneously is how groups die.
Abilities
Lens Flare — The solar crystals focus their intense energy on a player, inflicting 92,446 Fire damage to enemies within 6 yards of impact.
Blazing Ground — The rays of the Arakkoa light beam create areas of intense heat that inflict 46,223 Fire damage every 1 sec.
Cast Down — High Sage Viryx summons a Solar Zealot above a random player that will attempt to carry them off the balcony and drop them to their death below.
Scorching Ray — Sears targeted players with focused sunlight, inflicting 69,334 Fire damage to all enemies within 5 yards of impact.
Solar Blast — Blasts target enemy with solar energy, inflicting 208,003 Fire damage.
Role Strategy
Tanks: Position Viryx as far from platform edges as possible. This gives the group time and space to kill Cast Down adds and gives beam carriers a longer kiting path before running out of room. Use defensives on every Solar Burst that isn't interrupted.
Healers: Constant fire AoE damage throughout the fight. Spread cooldowns across the cast cycle — don't front-load everything and have nothing left for later phases.
DPS: Cast Down add is always the first priority. Stop what you're doing and kill it before the victim hits the edge. If the add is carrying you, run toward the center of the platform and away from edges to buy your group maximum kill time. When Lens Flare targets you, kite away from the group and away from the Cast Down kill zone — filling both areas with hazard zones simultaneously ends the run.
Boss Tips
- If targeted by Lens Flare, kite the laser beam around the sides of the room.
- If targeted by Cast Down, move to the entrance of the area. Everyone should help defeat the add to prevent the player from being dropped off the ledge.
Tips and Tricks
- Use Soothes on Raging Squalls to remove Wrathful Wind and reduce party damage.
- On Rukhran (B3), bait the initial spawn of the Sunwing into the exact position you want it to die, and then kill it before it moves.
- At the end of the wind gauntlet, the party can channel into a staff to turn off the wind.
- On High Sage Viryx (B4), certain classes can avoid dying when dropped off the platform (e.g. Evoker, Warlock).
Best Skyreach Loot — Mythic+ Season 1
| Item |
Slot |
Boss Drop |
| Rigid Scale Greatcloak |
Back |
Ranjit |
| Radiant Sunstone |
Trinket | Rukhran |
| Solarflare Prism |
Trinket |
High Sage Viryx |
| Viryx's Indomitable Bulwark |
Shield |
High Sage Viryx |
| Sunlance of Viryx |
2H Agility Polearm |
High Sage Viryx |
POPULAR NEWS


