- Home
- News
- WoW Midnight
- Magister's Terrace Mythic+ Guide — WoW Midnight Season 1

Magister's Terrace Mythic+ Guide — WoW Midnight Season 1
WoW Midnight · Season 1 · Mythic+ · New Midnight Dungeon · 34:00 Timer
Magister's Terrace is a brand new dungeon added in the Midnight expansion, set on Quel'Danas island. Unlike the returning legacy dungeons in Season 1's pool, this one was designed specifically for the current expansion — expect mechanics that demand clean execution from every role, heavy spellcaster density in trash, and a final boss that requires mandatory split positioning before the pull even starts. Four bosses in order: Arcanotron Custos → Seranel Sunlash → Gemellus → Degentrius.
Key Interrupts & Dispels
Assign interrupt and dispel responsibilities before the first pull. The spellcaster density in this dungeon is among the highest in Season 1 — every pull has 2–4 casters that need to be managed.
Key Interrupts:
- Polymorph — Arcane Magister
- Pyroblast — Blazing Pyromancer
- Terror Wave — Void Terror
Key Dispels:
- Polymorph — Arcane Magister
- Ethereal Shackles — Arcane Sentry and Arcanotron Custos
- Holy Fire — Lightward Healer
- Consuming Void — Void Terror
- Hulking Fragment — Degentrius
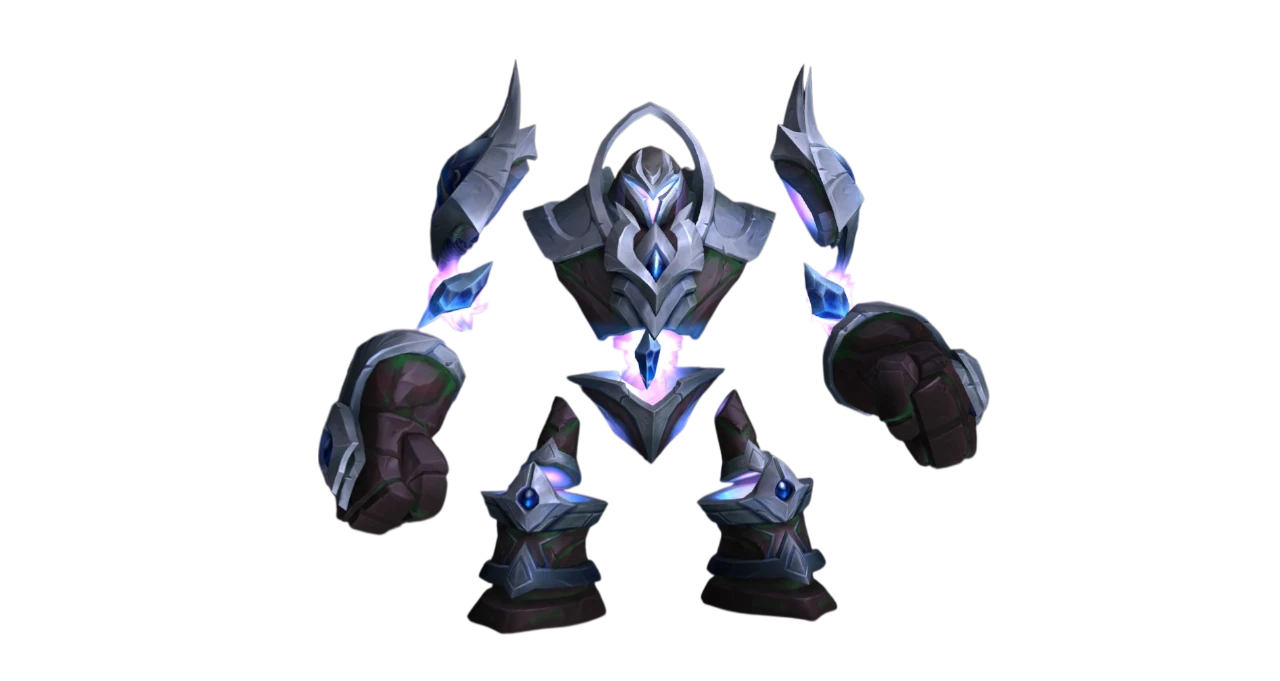
Boss 1 — Arcanotron Custos
A tank positioning and orb-collection fight. Arcanotron Custos runs on an energy bar — when it hits zero, the boss enters Refueling Protocol and pulls Energy Spheres toward itself. Spheres that reach the boss grant it Arcane Empowerment, dealing 92,446 Arcane damage to all players and increasing its damage by 20% per orb. Players who intercept spheres instead destroy them safely while gaining a personal 20% damage buff. Ten spheres per Refueling phase. Zero reaching the boss is the goal.
Abilities
Refueling Protocol — Arcanotron Custos begins recharging, drawing Energy Orbs toward itself and increasing damage taken by 20% for 20 sec.
Energy Orb — Arcanotron Custos attracts unstable Energy Orbs to itself, granting it Arcane Empowerment upon contact. If a player comes into contact with an Energy Orb it will be destroyed, creating a pool of Arcane Residue and covering the player with Unstable Energy.
Arcane Residue — Creates a pool inflicting 46,223 Arcane damage every 1 sec and reducing movement speed by 50%.
Unstable Energy — Inflicts 36,978 Arcane damage every 1 sec for 3 sec. This effect stacks.
Arcane Empowerment — An Energy Orb reaching Arcanotron Custos creates an arcane explosion inflicting 92,446 Arcane damage to all players and increasing the boss's damage by 20%.
Arcane Expulsion — Arcanotron Custos expels Arcane energy creating a pool of Arcane Residue at its feet, inflicting 69,334 damage to all players and knocking them back.
Ethereal Shackles — Arcanotron Custos suppresses the movement of a player, inflicting 41,601 Arcane damage every 3 sec and rooting them for 15 sec. Dispel this immediately.
Repulsing Slam — Arcanotron Custos strikes his current target with destructive force inflicting 138,668 Arcane damage and knocking them back.
Role Strategy
Tanks: Track the boss's energy bar constantly. Repulsing Slam is the final ability before Refueling Protocol triggers — use a defensive, then reposition the boss immediately after the knockback. Keep him away from walls during Refueling so orbs can spawn and be intercepted from all directions. Wall positioning blocks spawns and makes full orb collection impossible. Arcane Residue zones are permanent — every puddle you leave in a bad position costs the group safe space for the rest of the fight.
Healers: Ethereal Shackles is your priority dispel — a rooted player taking 41,601 every 3 seconds while standing in Arcane Residue dies quickly. If your own healing is insufficient during Refueling Protocol, intercepting one orb grants a 20% healing power increase. Otherwise let DPS collect them.
DPS: Collect all ten orbs during every Refueling phase — zero must reach the boss. Each orb you intercept gives you a 20% damage buff for the phase, so aggressive orb collection directly increases your output. Avoid standing in Arcane Residue puddles and use personal defensives to manage Unstable Energy stacks when intercepting multiple orbs in sequence.
Boss Tips
- Tank the boss on the edge of the room, slowly moving around the edge for puddles.
- The boss takes bonus damage during Refueling Protocol, but you need to soak all orbs before they reach the boss.
Boss 2 — Seranel Sunlash
A strict sequencing fight. Seranel marks three players with Runic Marks and creates a Suppression Zone dome at her location. Marked players must enter the dome one at a time to remove their mark — each removal triggers a stacking debuff and a volley of arcane missiles. Removing two marks simultaneously is a wipe. Before every Vow of Silence cast, all marks must already be cleared. Players with marks inside the dome during Vow of Silence also cause a wipe. The mechanics are simple; the execution window is tight.

Abilities
Suppression Zone — Seranel raises his shield and erects a Suppression Zone around himself, inflicting 184,891 Arcane damage to players within 8 yards. The zone silences and pacifies players standing within it. Consumes magical energies.
Feedback — The Suppression Zone consumes Runic Mark from the target, causing them to emit a barrage of arcane missiles that inflict 138,668 Arcane damage, silencing and pacifying players within 4 yards of each impact for 3 sec.
Null Reaction — The Runic Mark violently reacts to the removal, inflicting 55,467 Arcane damage to all players and reducing their movement speed by 25% for 3 sec. This effect stacks.
Vow of Silence — Seranel recites the Vow of Silence, inflicting 92,446 Arcane damage to all players and pacifying any players outside of the Suppression Zone for 8 sec.
Runic Mark — Seranel hurls an Arcane infused glaive at a target inflicting 4,622 Arcane damage and an additional 5 Arcane damage every 1 sec to players within 4 yards. The glaive bounces to 2 nearby players.
Hastening Ward — Seranel surrounds himself in a hastening ward, increasing his attack speed by 100% and his auto attacks to inflict an additional 23,111 Arcane damage for 15 sec.
Role Strategy
Tanks: No specific tank mechanic. Move the boss out of the Suppression Zone dome — you need the interior clear for marked players to enter. Remove your own Runic Mark promptly in the correct sequence.
Healers: This is the hardest healing boss in the dungeon. Every mark removal triggers Null Reaction group damage that stacks — three consecutive removals deal 3× the debuff to everyone. Heal through each removal before the next player enters. Healers should remove their mark first — taking heavy self-damage while trying to heal the group creates unnecessary pressure. All debuffs are magic effects and cannot be removed.
DPS: Remove Runic Marks one at a time, in sequence, with a pause between each. Enter the Suppression Zone alone when it's your turn. Use a personal defensive before entering to reduce the Null Reaction damage spike on the group. During Vow of Silence, everyone without a mark must be inside the dome — no exceptions.
Boss Tips
- Clear Runic Marks one at a time by stepping into the Suppression Zone.
- Be inside the Suppression Zone when Vow of Silence casts.
- Use pings to indicate who should clear first.
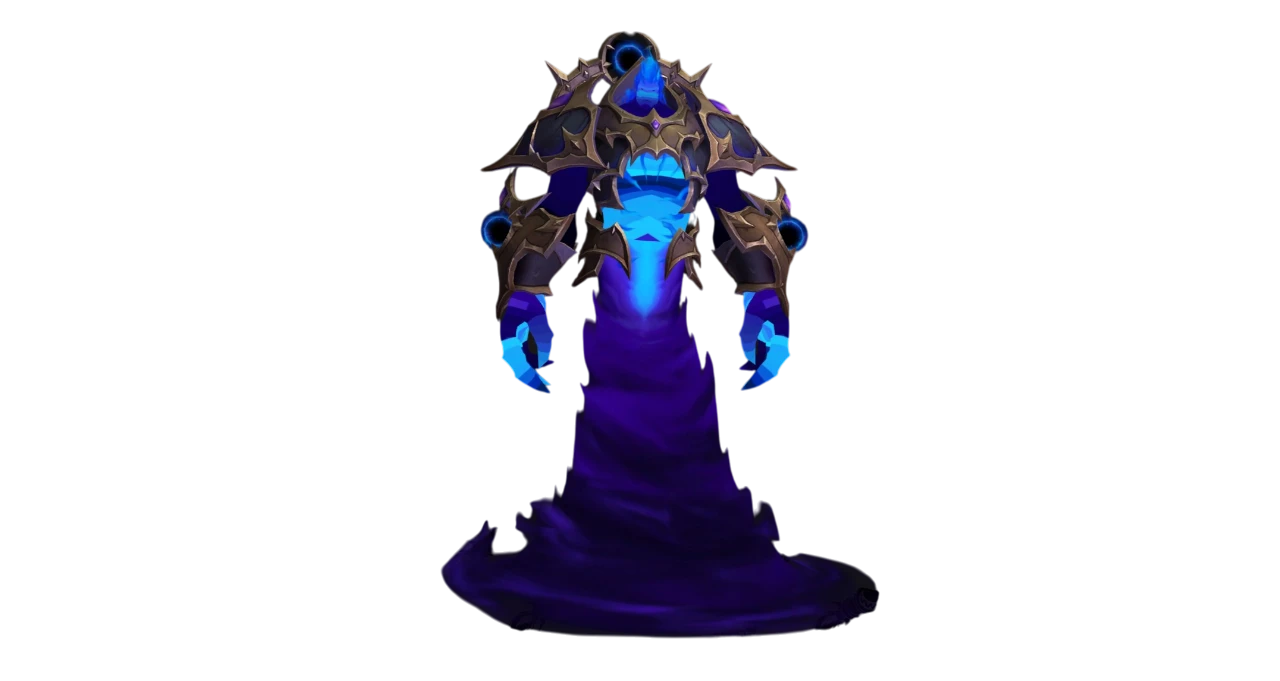
Boss 3 — Gemellus
A split-damage fight built around clone management. Gemellus replicates at 90% and 50% health, creating two identical copies — all three share health through Synaptic Nexus. AoE and DoT effects applied to one copy hit all three. At 100 energy, all copies simultaneously pull players toward themselves with Astral Grasp. The Neural Link mechanic links a player to one copy and grants all clones a 20% damage shield — the linked player must reach the highlighted copy (marked by a red arrow) to break the shield.

Abilities
Triplicate — Upon reaching 90% and 50% health Gemellus self-replicates, creating 2 identical versions of itself.
Synaptic Nexus — All Gemellus function as a collective, sharing health.
Neural Link — Gemellus forms a neural link with a player, reducing their damage taken by 30%. The player they linked to receives 30% more damage for 7 sec. Upon expiration the player breaks free, causing any Gemellus hit to have their link destroyed, inflicting 6 Shadow damage to players within.
Astral Grasp — Gemellus shoots out a grasping tentacle at a player, inflicting 18,489 Shadow damage every 1 sec and pulling the player towards them for 8 sec.
Cosmic Radiation — Gemellus radiates players pulled within its grasp, inflicting 115,557 Shadow damage every 1 sec.
Void Secretions — Gemellus secretes void ink at a player's location, inflicting 69,334 Shadow damage every 1 sec to players standing within it.
Cosmic Sting — Gemellus stings you with Cosmic Void, inflicting 46,223 Shadow damage and an additional 23,111 Shadow damage every 2 sec for 10 sec.
Role Strategy
Tanks: Position the boss near its copies to maximize AoE damage efficiency through Synaptic Nexus. After Void Secretions zones appear, reposition the clones away from them — Astral Grasp pulls players directly into the boss's position, and zones clustered on the clones become unavoidable traps.
Healers: Focus healing on players caught in Astral Grasp — Cosmic Radiation ticks 115,557 per second while a player is pulled in. Cosmic Sting adds periodic pressure on top. Outside of those two windows the damage is manageable.
DPS: Stack AoE and DoTs — every effect hits all three clones simultaneously for triple value. When Neural Link marks you, follow the red arrow to the highlighted copy immediately. Don't get pulled into Void Secretions zones by Astral Grasp — pre-position away from existing zones before the pull targets you.
Boss Tips
- Clear Neutral Link by running to the Gemellus clone indicated by the red arrow and red light.
- Don't get pulled into any Gemellus clones during Astral Grasp.
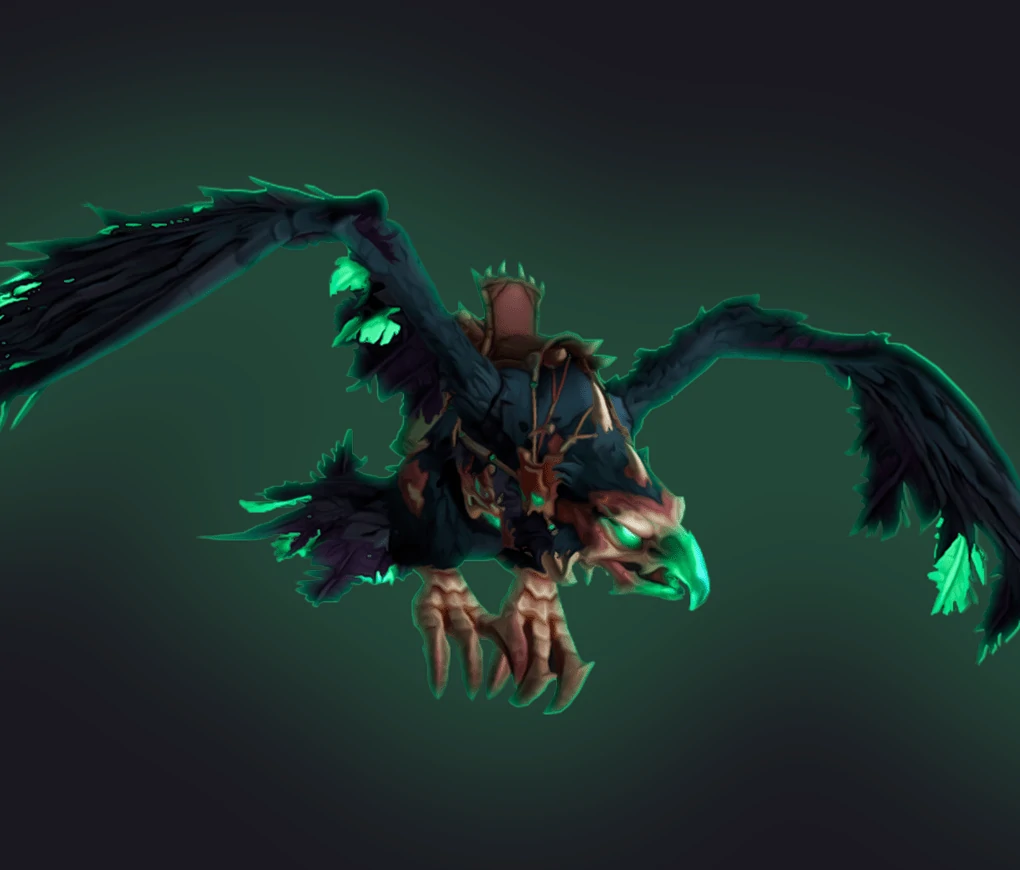
Boss 4 — Degentrius
The final boss and the most complex in the dungeon. Degentrius's platform has four obelisks that emit beams dividing the arena into quadrants — crossing a beam deals massive damage, knockback, and a 5-second stun. One player must be pre-positioned in each quadrant before the pull. Unstable Void Essence bounces between all four quadrants in sequence — the player in each quadrant must stand in the zone to catch it. Miss any catch and Void Destruction erupts for 231,114 Shadow damage to all players. After cycling all four quadrants the Essence becomes a Null Bomb — the tank must intercept it or it wipes the group.
Abilities
Mote Creation — Void Mote: Creates an orb of void energy inside one of the Cynosure of Twilight's focal points that channels void energy to Degentrius.
Void Torrent — The Void Mote channels a stream of void energy into Degentrius, inflicting 138,563 Shadow damage and stunning for 5 sec any player that comes into contact with it.
Unstable Void Essence — Degentrius launches unstable void energy that bounces to 4 locations, inflicting 12 Shadow damage and an additional 5 Shadow damage every 1 sec for 4 sec to any player at the point of impact. If no player is in the area the unstable void essence erupts in Void Destruction.
Void Destruction — Void energy erupts upon impact with the ground inflicting 231,114 Shadow damage to all players.
Null Bomb — Unstable Void Essence coalesces into a Null Bomb which explodes on contact with a player, inflicting 184,891 Shadow damage to all players within 3 yards. After 7 seconds the Null Bomb explodes for 50 Shadow damage to all players.
Devouring Entropy — Degentrius corrupts 2 players with void energy, inflicting 23,164 Shadow damage every 1 sec for 20 sec. Upon removal, Entropy Orbs are launched from the target's location.
Entropy Orb — Coming into contact with an Entropy Orb inflicts 69,334 Shadow damage and roots for 5 sec.
Umbral Eruption — Degentrius causes void energy to erupt from the ground, inflicting 138,668 Shadow damage and knocking back all players within 8 yards of the eruption.
Entropy Blast — Degentrius unleashes an Entropy Blast at its primary target inflicting Physical damage.
Role Strategy
Tanks: Your primary job is intercepting the Null Bomb after Unstable Void Essence cycles all four quadrants. Use a major defensive for the detonation — 184,891 Shadow damage to yourself plus proximity damage to nearby players. Stay center during the Essence cycle so you can reach the bomb from any quadrant. Void Torrent beams stun for 5 seconds if you walk into one — learn their angles and route around them.
Healers: Devouring Entropy on two players deals 23,164 per second for 20 seconds — dispel it, but one player at a time. Removing it from two players simultaneously launches double the Entropy Orbs in overlapping bursts. One removal, let Orbs clear, then dispel the second. Use a major cooldown on the tank during Null Bomb detonation.
DPS: Your job during the Unstable Void Essence cycle is standing in your quadrant's zone when it arrives — no exceptions. Use a personal defensive when you catch it. During Devouring Entropy, stay away from the cursed players' positions when the debuff expires — Entropy Orbs root for 5 seconds and block your ability to cover your quadrant on the next cycle.
Boss Tips
- Split the party so that there are players on both sides of the cutter beam.
- Soak the bouncing volleyball when it enters your area, while dodging orbs.
- For Hulking Fragment, the tank should be dispelled on alternating sides of their quadrant.
Elite Trash — Know These Packs
Arcane Sentinel — Targets a random player with a beam that lasts 4 seconds, creating a persistent zone under them each second. Four zones per beam, every 15 seconds. These zones never despawn. Move the beam away from high-traffic areas — zones placed on top of boss positions or doorways destroy safe ground for the rest of the run.
Devouring Tyrant — Constantly drops zones on players and fears 3 random players every 15 seconds. The fear is a magic debuff — dispel it immediately. Multiple Devouring Tyrants between bosses 3 and 4 make that section the most healer-intensive trash in the dungeon.
Arcane Magister — Casts Polymorph on players and must be both interrupted and dispelled. Assign dedicated coverage for this mob in every pack — a Polymorphed player during a difficult trash pull creates a cascading damage problem.
Blazing Pyromancer — Spams Pyroblast. High interrupt priority. Multiple Pyromancers in the same pull demand strict rotation assignment.
Void Terror — Casts Terror Wave (interrupt) and applies Consuming Void (dispel). Both need to be covered in every pull.
Tips and Tricks
- Do a big pull down the first hallway with Bloodlust.
- Click the Arcane Tome near the start of the library to gain a Haste buff that lasts for 30 minutes. Don't skip this.
- For Seranel Sunlash (B2), use pings to indicate who should clear their Runic Mark first — silent groups wipe on this boss regularly.
- Shadowrift Voidcallers cast Consuming Shadows which can be line-of-sighted, preventing damage and enemy healing.
- Each mob group contains 2–4 spellcasters. Plan your crowd control and interrupt rotations before pulling, not during.
Best Magister's Terrace Loot — Mythic+ Season 1
| Item |
Slot |
Boss Drop |
| Bifurcation Band |
Ring |
Gemellus |
| Jelly Replicator |
Trinket |
Gemellus |
| Whirling Voidcleaver |
2H Strength Axe |
Degentrius |
| Defiant Defender's Drape |
Back |
Seranel Sunlash |
POPULAR NEWS


