- Home
- News
- WoW Midnight
- Nexus-Point Xenas Mythic+ Guide — WoW Midnight Season 1

Nexus-Point Xenas Mythic+ Guide — WoW Midnight Season 1
WoW Midnight · Season 1 · Mythic+ · New Midnight Dungeon · 30:00 Timer
Nexus-Point Xenas is a new dungeon introduced in the Midnight expansion, located in the Voidstorm zone. Blinded by betrayal, Lothraxion storms the Nexus-Point alone, intent on breaching the Nexus Core — a catastrophe that would annihilate Silvermoon and ripple across all of Azeroth. Three bosses in order: Chief Corewright Kasreth → Corewarden Nysarra → Lothraxion.
Key Interrupts & Dispels
Key Interrupts:
- Arcane Explosion — Corewright Arcanist
- Nullify — Grand Nullifier
Key Dispels:
- Transference — Corewright Arcanist
- Creeping Void — Cursed Voidcaller
- Burning Radiance — Lightwrought
Boss 1 — Chief Corewright Kasreth
An arcane circuitry fight built around laser beam management. Kasreth's Leyline Arrays divide the arena into sectors with beams that deal heavy damage and slow anyone who crosses them. The mechanic that opens the arena is Reflux Charge: the marked player must walk into a Leyline beam to absorb the circuit, stunning nearby targets and clearing the beam. Standing on a beam intersection clears multiple beams at once. At 100 energy, Kasreth fires Corespark Detonation — a heavy AoE blast that leaves permanent Arcane Spill pools on the ground and locks healing with Sparkburn. Positioning during the detonation is critical, as the Spill pools persist until the end of the fight.
Abilities
Leyline Array — A dangerous flow of Arcane power links between conduits, inflicting 277,337 Arcane damage when crossed and reducing movement speed by 20% for 8 sec. This effect stacks. On Mythic difficulty, beams are more numerous and coverage is wider.
Reflux Charge — Kasreth hurls a refluxing circuit at a random player, inflicting 3 Arcane damage every 1 sec. Standing inside a Leyline Array provides immunity as the circuit recoils and clears the effect — stunning nearby targets for 1 sec and disabling the beam.
Corespark Detonation — Upon reaching 100 energy, Kasreth overcharges a spark in the core engine and launches it at a random location, inflicting 46,199 Arcane damage to all players within 15 yards of impact. The detonation triggers Flux Collapse and applies Sparkburn to all players. On Mythic difficulty, Corespark Detonation knocks away all players.
Sparkburn — An arcane discharge clings to all players, absorbing the next 104,873 healing received and inflicting 6,933 Arcane damage every 1 sec.
Flux Collapse — Broken pipes leak excess power, inflicting 46,223 Arcane damage to enemies within 2.5 yards of the impact and causing an Arcane Spill to form for 1 min.
Arcane Spill — Residual arcane energy lingers on the ground, inflicting 83,250 Arcane damage every 1 sec to players standing within it.
Role Strategy
Tanks: Kasreth has no dedicated tank mechanics. Use this freedom to position him in a part of the arena that gives the group maximum room to work with — ideally away from active Leyline beams and existing Arcane Spill pools. During Corespark Detonation on Mythic, brace for the knockback and avoid landing in beams.
Healers: Two major healing windows occur every cycle. First, when a player walks into a Leyline beam to absorb Reflux Charge, they take burst damage — pre-heal them if possible. Second, Sparkburn from Corespark Detonation locks incoming healing across the entire group simultaneously — save a major cooldown for this window as the absorb makes natural recovery very slow.
DPS: When Reflux Charge marks you, do not immediately step into the nearest beam — time your movement for when clearing that beam benefits the group most. Prioritize beam intersections: standing where two beams cross clears both at once, opening significantly more space on the arena. During Corespark Detonation, move away from the impact location to avoid the AoE blast, and never stand in Arcane Spill pools left behind — 83,250 per second is lethal at any key level.
Boss Tips
- When targeted by Reflux Charge, stand on one set of laser beams to clear them. Clear as many as possible by standing on an intersection.
- Don't get knocked into a laser beam during Corespark Detonation.
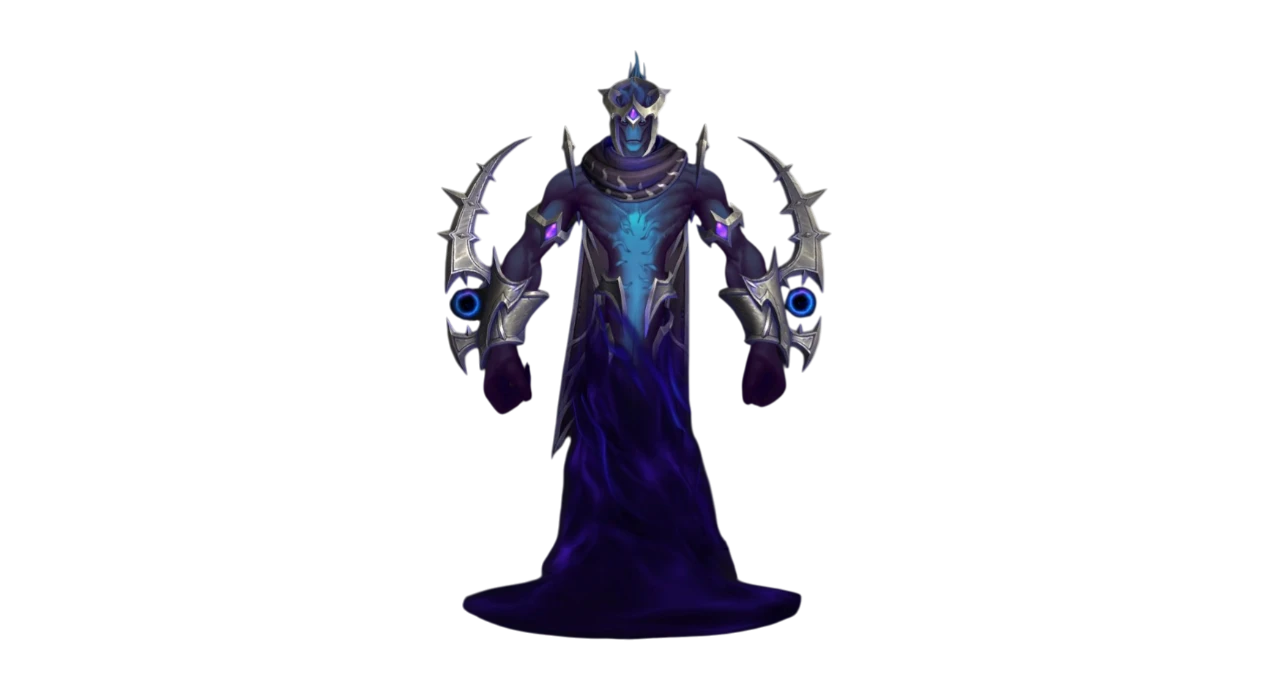
Boss 2 — Corewarden Nysarra
A wounded boss that enters the fight at 60% health due to the Lightscarred passive — the struggle with Lothraxion left her damaged before the pull even begins. The fight's central mechanic is Lightscar Flare: a Fractured Image periodically slams into Nysarra, stunning her for 18 seconds and leaving a glowing wound on the ground. Any player who stands inside this wound gains a 300% damage bonus to Nysarra and 30% bonus healing — the group must stack inside the flare zone during the stun and pour all damage and cooldowns into it. On Mythic difficulty, surviving adds at the end of Lightscar Flare trigger Devour the Unworthy, a deadly group-wide burst. Throughout the fight, Nysarra's summoned subordinates must be interrupted and killed quickly — their Entropic Blast stacks damage on the entire group.
Abilities
Lightscarred — Nysarra enters the fight at 60% health. Fractured Images periodically tear into the arena, causing Lightscar Flare.
Lightscar Flare — A Fractured Image strikes Nysarra, stunning her for 18 sec. Players caught in the image's blast suffer 15 Holy damage and are disoriented for 5 sec. Standing inside the wound's flare inflicts 8 Holy damage every 1 sec but increases healing done by 30% and damage dealt to Nysarra by 300% until she recovers. On Mythic difficulty, Nysarra devours the unworthy at the end of Lightscar Flare.
Devour the Unworthy (Mythic) — Nysarra channels the void to consume any surviving subordinates, restoring her own strength every 0.5 sec for 5 sec and triggering a burst of void energy inflicting 92,446 Shadow damage to all players.
Umbral Lash — Nysarra leaps to her primary target and unleashes consecutive slashes, inflicting 15 Shadow damage with every strike and causing Void Gash on the final blow.
Void Gash — Gashes the target, knocking them back and increasing all damage taken by 50% for 10 sec.
Eclipsing Step — Nysarra vanishes and reappears behind a random player, carving darkness into the ground and inflicting 15 Shadow damage to all enemies within 8 yards.
Null Guardian (Mythic) — Nullwark Repulsion: holds up a shield for 10 sec, deflecting all attacks and spells from the front.
Wretched Supplicant — Entropic Blast — Launches chaotic void energy at the target, inflicting 36,978 Shadow damage and an additional 18,480 Shadow damage every 1 sec for 8 sec. This effect stacks.
Role Strategy
Tanks: Umbral Lash into Void Gash is your personal defensive window every time — the knockback followed by a 50% damage increase debuff makes the next hit potentially lethal. Use a defensive on every Void Gash. Position Nysarra away from the Lightscar Flare zone so the group can stand in the wound without being in the boss's cleave path. On Mythic, Null Guardians face-shield attacks from the front — drag them sideways or attack from behind.
Healers: The Lightscar Flare zone deals 8 Holy damage per second to everyone standing in it — this is unavoidable during the burn window, so pre-hot the group before entering. Save a major cooldown for the Flare stun phase: coordinating 30% bonus healing with your cooldown multiplies throughput significantly. On Mythic, make sure all adds are dead before Lightscar Flare ends to prevent Devour the Unworthy.
DPS: Interrupt Entropic Blast from Wretched Supplicants on cooldown — stacking Shadow DoTs across the group compound rapidly and will kill players if left unchecked. Kill all subordinates before Lightscar Flare ends on Mythic to prevent Devour the Unworthy. When Lightscar Flare triggers, immediately move into the wound zone and pop all offensive cooldowns — the 300% damage buff turns this 18-second stun window into the primary kill window of the fight. Spread slightly during Eclipsing Step to limit splash damage when Nysarra reappears.
Boss Tips
- Defeat the summoned adds and interrupt Nullify.
- Stand in the Lightscar Flare beam to deal 300% bonus damage to the boss. Healers get bonus healing to deal with the high damage of the beam.
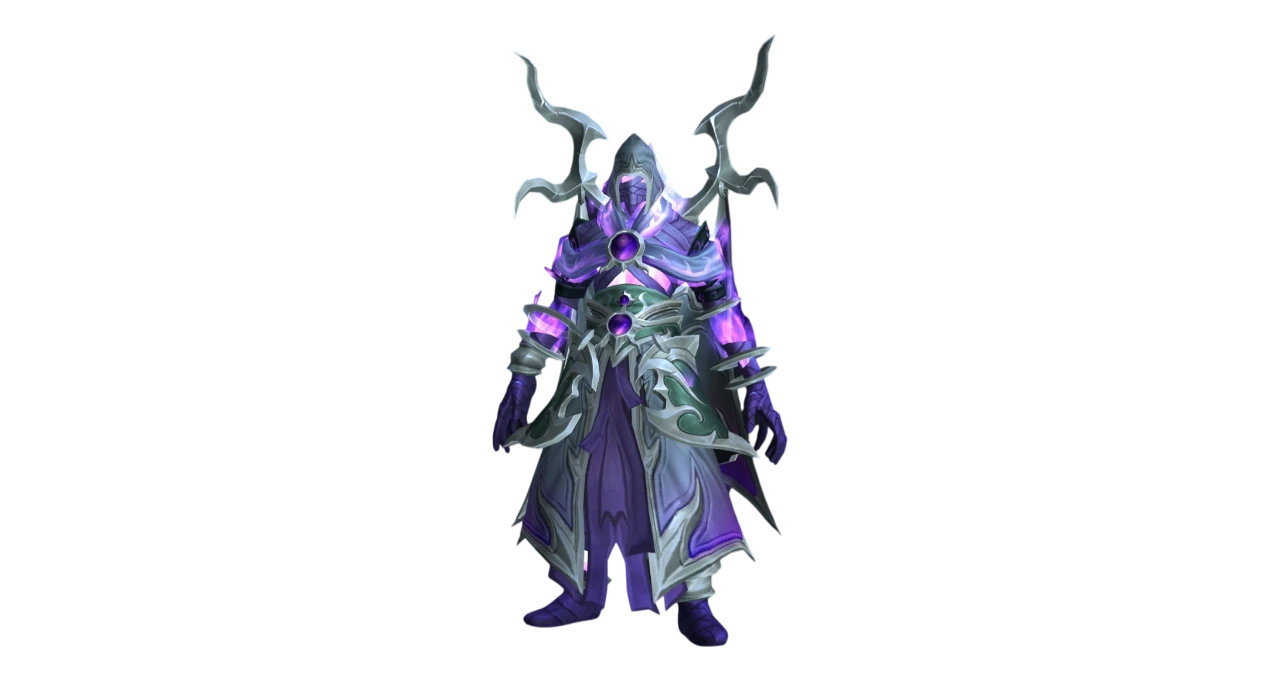
Boss 3 — Lothraxion
The final boss and the most mechanically demanding fight in the dungeon. Lothraxion fights surrounded by Fractured Images — copies spawned by Brilliant Dispersion that periodically Flicker to new locations, dealing damage and knocking away anyone in their path. Contact with any image triggers Mirrored Rend, a stacking knockback that leaves permanent Radiant Scar zones on the ground. At 100 energy, Lothraxion hides among his copies and channels Divine Guile — all images channel light into the core simultaneously, dealing escalating Holy damage until the real Lothraxion is interrupted. On Mythic, interrupting a copy instead of the real boss triggers Core Exposure, a wipe-level mistake. The real Lothraxion is always the image without horns.

Abilities
Divine Guile — Upon reaching 100 energy, Lothraxion disguises himself among his Fractured Images as they all channel light energy into the core, inflicting 32,356 Holy damage every 3 sec until the real Lothraxion is interrupted. On Mythic difficulty, interrupting an incorrect Fractured Image causes Core Exposure.
Core Exposure (Mythic) — Inflicts 69,334 Holy damage to all players and increases Holy damage taken by 50% for 1 min.
Brilliant Dispersion — Lothraxion emits swarms of light aimed at several players, inflicting 20 Holy damage to enemies within 8 yards upon arrival and creating Fractured Images at each impact location.
Fractured Image — Mirrored Rend — Coming in contact with a Fractured Image rends the target, knocking them away and inflicting 46,223 Holy damage with an additional 2 Holy damage every 1 sec. This effect stacks and leaves behind Radiant Scars.
Fractured Image — Flicker — Fractured Images periodically flicker to new locations, inflicting 20 Holy damage and knocking away any players in their line of travel.
Radiant Scar — A jagged brand of divine energy inflicts 46,223 Holy damage every 1 sec to players within the area.
Searing Rend — Lothraxion lashes out with a precise double-slash aimed at his current target. Each strike inflicts 30 Physical damage with an additional 5 Holy damage every 1 sec for 6 sec, and carves a Radiant Scar into the ground.
Role Strategy
Tanks: Searing Rend deals sustained damage and permanently scars the ground in front of the boss — reposition after every cast to keep the arena clear of Radiant Scar zones. Face the boss away from the group consistently, as the scar zones expand the list of areas the group cannot stand in over the course of the fight.
Healers: Damage is relatively manageable between Divine Guile phases. Save cooldowns for the Divine Guile channel — 32,356 Holy damage every 3 sec escalates if the group struggles to locate and interrupt the real Lothraxion quickly. Outside of Guile, spot-heal players clipped by Flicker or Mirrored Rend knockbacks — the stacking damage from Mirrored Rend can kill players caught multiple times.
DPS: Track Fractured Image positions at all times — Flicker is unpredictable and contact is lethal at high stacks of Mirrored Rend. During Brilliant Dispersion, walk marked players to open areas away from the main fight space so new images don't spawn on top of existing Radiant Scar zones. During Divine Guile, locate the image without horns immediately — that is the real Lothraxion. On Mythic, assign a single dedicated interrupter and have everyone else hold their kicks to prevent accidental Core Exposure. Pop offensive cooldowns immediately after a successful interrupt while Lothraxion is still localized.
Boss Tips
- Avoid getting close to the Lothraxion clones and dodge their charges.
- Interrupt the Image of Lothraxion that does NOT have horns during Divine Guile.
Elite Trash — Know These Packs
Corewright Arcanist — Casts Arcane Explosion (interrupt on cooldown) and applies Transference (dispel, magic). Both must be covered every pull — missing either simultaneously at higher key levels is a wipe-level mistake.
Grand Nullifier — Casts Nullify (interrupt). High priority interrupt in every pack containing this mob — the cast suppresses the group's ability effectiveness.
Cursed Voidcaller — Applies Creeping Void (dispel, curse). Prioritize dispelling on any player taking additional sustained damage. Creeping Void left unaddressed compounds with other incoming damage quickly.
Lightwrought — Applies Burning Radiance (dispel, magic). Secondary dispel priority; dangerous when multiple Lightwroughts are active in the same pull.
Shadowguard Defender — Applies a stacking healing absorb. Tanks should never pull too many of these simultaneously — the absorb stacks compound rapidly and create unkillable healing situations for the healer.
Circuit Seer — Activates nearby inactive barrels when aggroed. Tanks must pull Circuit Seers away from any inactive barrels to prevent additional hazards from spawning.
Tips and Tricks
- Tank Circuit Seers away from any inactive barrels to avoid them from activating.
- Tanks should avoid pulling too many Shadowguard Defenders as they apply a stacking healing absorb.
- In the right wing, prevent Smudges from reaching the inactive adds.
- You do not need to pull the entire last platform to summon Lothraxion.
Best Nexus-Point Xenas Loot — Mythic+ Season 1
| Item |
Slot |
Boss Drop |
| Occlusion of Void |
Ring |
Lothraxion |
| Omission of Light |
Ring |
Corewarden Nysarra |
| Whisper of the Duskwraith |
Trinket |
Corewarden Nysarra |
| Radiant Slicer |
1H Agility Dagger |
Lothraxion |
POPULAR NEWS


