- Home
- News
- WoW Midnight
- Pit of Saron Mythic+ Guide — WoW Midnight Season 1

Pit of Saron Mythic+ Guide — WoW Midnight Season 1
WoW Midnight · Season 1 · Mythic+ · Originally from Wrath of the Lich King · 30:00 Timer
Pit of Saron drops you into a frozen mining pit carved out by the Scourge. Unlike most linear dungeons, this one has a pre-boss objective — you need to liberate 6 prisoner camps scattered around the arena before the final boss unlocks. Miss that step and Scourgelord Tyrannus stays locked. Three bosses, dangerous trash, and one of the most punishing gargoyle mechanics in the season's pool.
Four bosses in order: Forgemaster Garfrost → Ick and Krick → Scourgelord Tyrannus.
Key Interrupts & Dispels
Assign interrupts before pulling. Several of these will wipe the group if they land uncontested.
Key Interrupts:
- Netherburst — Arcanist Cadaver
- Icy Blast — Dreadpulse Lich
- Plungegrip — Plungetalon Gargoyle
- Shadowbind — Shade of Krick
- Death Bolt — Krick
- Plague Bolt — Scourge Plaguespreader
Key Dispels:
- Curse of Torment — Quarry Tormenter
- Permeating Cold — Rimebone Coldwraith
- Cryoshards — Forgemaster Garfrost
- Shadowbind — Shadow of Krick
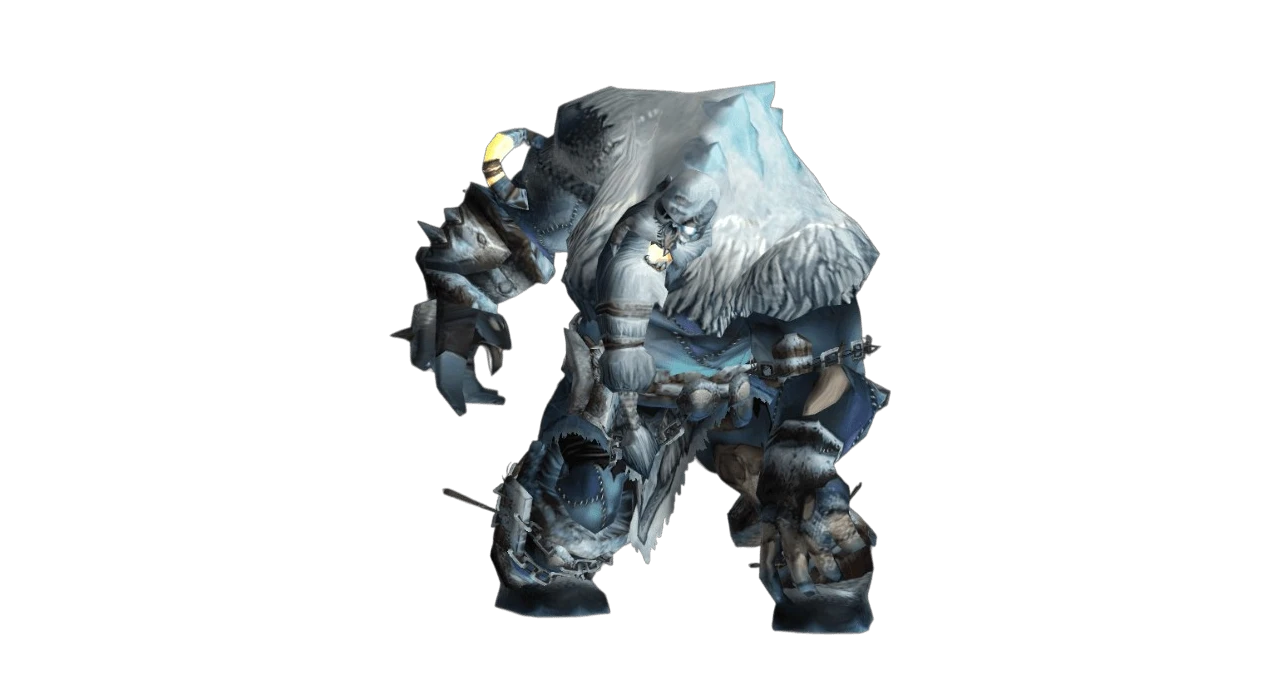
Boss 1 — Forgemaster Garfrost
Garfrost is entirely a tank positioning fight. The boulders he throws are your survival tools — where they land and how you use them determines whether the group lives through Frost Overload. Most wipes on this boss come from tanks who don't understand the boulder mechanic or DPS who place boulders in the wrong spots.
Abilities
Throw Saronite — Garfrost throws saronite ore at players, inflicting 15 Physical damage to players within 10 yards of impact. When destroyed, ore becomes Saronite Sludge and explodes into Ore Chunks.
Saronite Sludge — The smashed saronite oozes a harmful substance, inflicting 46,223 Shadow damage to players within it.
Ore Chunks — Chunks of saronite ore rain down, inflicting 184,891 Physical damage to players within 4.5 yards of impact.
Glacial Overload — Forgemaster Garfrost increases each player's Frost damage taken by 75% every 0.5 sec for 2.5 sec. Saronite ore protects players from this effect. This is the ability the entire fight is built around — if nobody is behind a boulder when this goes off, the group dies.
Cryostomp — Garfrost stomps, causing an icy reverberation that inflicts 69,334 Physical damage to all players and sends out Cryoshards. The reverberation also destroys Saronite ore.
Cryoshards — Shards of ice travel through the ground and shatter against players, increasing their Frost damage taken by 50% and slowing them by 15%.
Orebreaker — Forgemaster Garfrost unleashes a devastating mace slam, inflicting 277,337 Physical damage to players within 5 yards of his current target and stunning them for 8 sec. If this strikes saronite ore, it no longer stuns players, destroying the ore instead.
Radiating Chill — Forgemaster Garfrost radiates a chill that inflicts 18,489 Frost damage to all players every 2 sec.
Role Strategy
Tanks: The entire fight depends on your positioning. After Throw Saronite lands two boulders, bring the boss to the first boulder and let Orebreaker destroy it instead of stunning you. Then immediately reposition to the second boulder so the group can hide behind it during Glacial Overload. If you miss either step the group takes lethal Frost damage with no cover.
Healers: Radiating Chill ticks constantly. Cryostomp and Orebreaker spike incoming damage heavily — save strong cooldowns for those moments and keep the tank topped when Orebreaker is imminent.
DPS: Place yourselves so the two boulders from Throw Saronite land with a small gap between them. The first needs to be in range of Orebreaker, the second needs to be large enough for the full group to shelter behind. During Glacial Overload, get behind the second boulder immediately — every second exposed stacks lethal Frost vulnerability.
Boss Tips
- The tank should use Orebreaker to hit one of the two Ore Chunks.
- During Glacial Overload, hide from the channeled forge using an Ore Chunk.
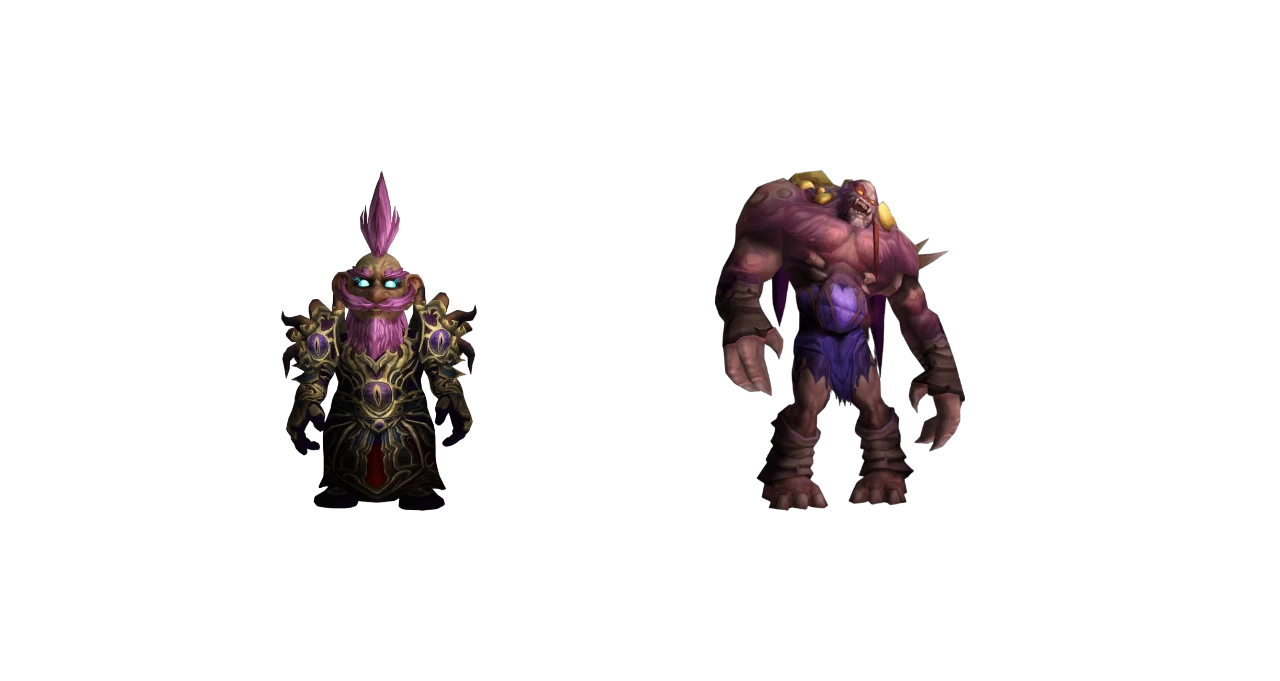
Boss 2 — Ick and Krick
A dual-target fight where both enemies share a single health pool. Krick is the brains — he conjures Shades, fires Death Bolts, and eventually mounts Ick to chase someone down. Ick is the muscle — he smashes his current target and spreads Plague Blobs across the floor. The shared health pool means cleave and AoE damage is always efficient. The Shades are the kill condition — ignore them long enough and they explode for lethal damage.
Krick's Abilities
Shade Shift — Krick releases a burst of dark energy, transporting to a ritual circle and conjuring Shades of Krick. This burst inflicts 46,223 Shadow damage to all players and an additional 13,867 Shadow damage every 1 sec for 10 sec.
Shades of Krick — Shades of Krick cast Shadowbind until defeated. They eventually become a Shade Bomb.
Shade Bomb — After 1 min, the Shade of Krick explodes, inflicting 231,114 Shadow damage to all players and an additional 46,223 Shadow damage every 1 sec for 10 sec. This effect stacks.
Shadowbind — A Shade of Krick channels on a player, inflicting 27,734 Shadow damage every 1 sec and slowing them by 35%.
Death Bolt — Krick fires a massive shadow bolt at a player, inflicting 152,535 Shadow damage. Must be interrupted.
Shadow Lance — While riding atop Ick, Krick throws dark energy at a player, inflicting 20,800 Shadow damage.
Get 'Em, Ick! — Krick teleports to Ick's shoulder and compels him to fixate upon a player. Ick switches his fixate target periodically. While fixating, Ick splatters Blight underneath himself and launches Plague Globs towards players.
Ick's Abilities
Plague Expulsion — Ick disgorges a wave of necrotic filth, inflicting 69,334 Nature damage to all players and launching Plague Globs towards them.
Plague Globs — Globules of necrotic filth impact the ground, inflicting 115,557 Nature damage to players within 3 yards.
Blight — Ick's blight inflicts 69,334 Nature damage every 1.5 sec to players within it.
Blight Smash — Ick smashes his target, inflicting 254,226 Physical damage and forming Blight.
Role Strategy
Tanks: Your job is positioning. Bring the boss close to Shade spawns so the group can cleave them down fast. Interrupt Death Bolt every cast — letting it through kills the targeted player. Shades hitting their 1-minute timer is a guaranteed wipe.
Healers: The Shade phase is when the group takes the most damage — Shadowbind channels and Plague Globs land simultaneously. Front-load your cooldowns here. Once Shades are dead the damage becomes manageable. Keep the fixate target topped during Get 'Em, Ick!
DPS: Shades are the only priority. Kill them before any other damage consideration. During Get 'Em, Ick!, the fixated player kites Ick through the plague pools — this keeps melee off the fixate target and lets ranged continue hitting the boss. Interrupt Death Bolt the moment it starts casting.
Boss Tips
- The bosses share health.
- Kill the Shades of Krick quickly while interrupting Krick's Death Bolt.
- When fixated by Ick, don't get hit.
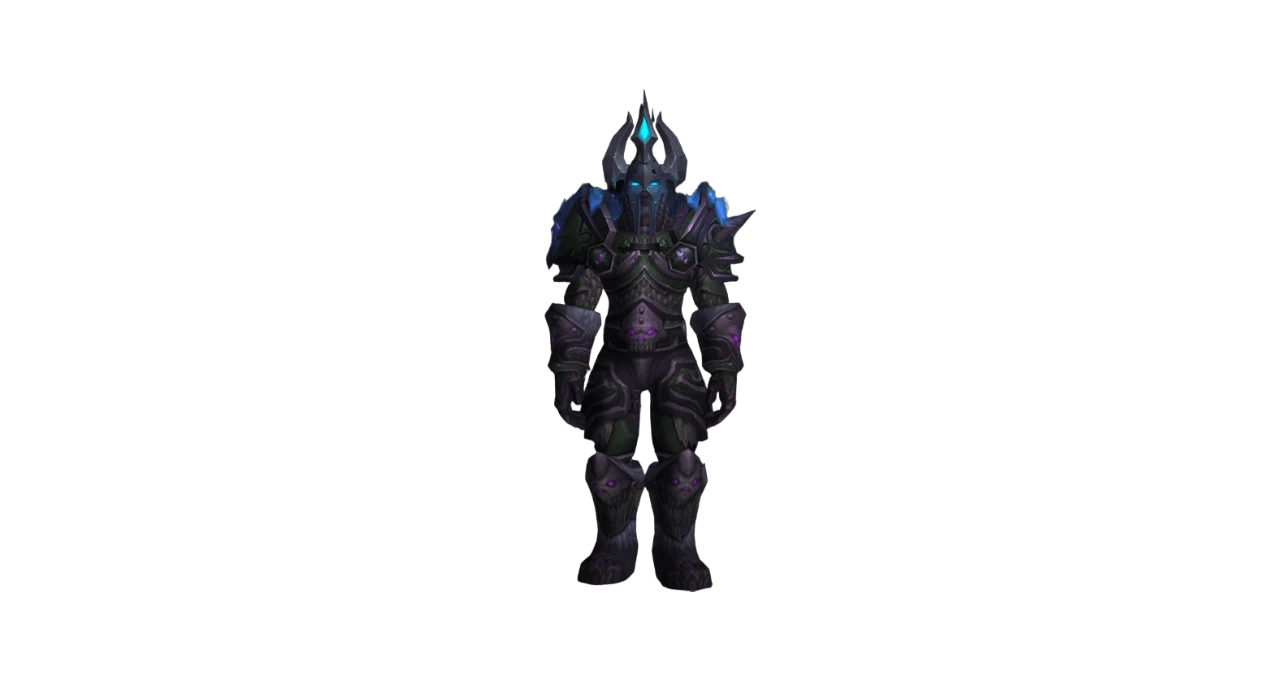
Boss 3 — Scourgelord Tyrannus
The final boss fights alongside his frost wyrm Rimefang. Tyrannus handles ground mechanics — bone piles, shadow damage, and a tank-targeted brand that demands precise positioning. Rimefang handles air — ice beams, frost barrages, and Frost Spit that freezes bone piles on impact. The two mechanics interact: Rimefang's freezing abilities are how you prevent elite mob spawns from Tyrannus's Army of the Dead.
To unlock this boss, all 6 prisoner camps around the pit must be liberated before engaging.
Scourgelord Tyrannus's Abilities
Bone Infusion — Scourgelord Tyrannus stomps necrotic energy into the ground, turning some Bone Piles into Infused Bone Piles. The stomp inflicts 36,978 Shadow damage to all players and an additional 13,867 Shadow damage every 1 sec for 8 sec.
Army of the Dead — Scourgelord Tyrannus raises ghouls from Bone Piles and Infused Bone Piles. Scourge Plaguespreaders spawn from normal piles — their Festering Pulse inflicts 32,356 Nature damage to all players every 2 sec, and Plaguebolt hits a single player for 55,467 Nature damage. Rotlings spawn from infused piles — their Rotting Strikes reduce the target's maximum health by 1-2% per strike for 3 sec. This stacks.
Death's Grasp — Hands of the dead emerge at the location of players, inflicting 30 Shadow damage to players within 6 yards and slowing them by 40% for 3 sec.
Scourgelord's Brand — Scourgelord Tyrannus knocks away his target with a powerful slash, branding them. While branded, the target takes 200% increased Shadow damage. Tyrannus follows up with Scourgelord's Reckoning.
Scourgelord's Reckoning — Scourgelord Tyrannus leaps at his target's location to deliver a heavy necrotic strike, inflicting 10 Physical damage and 30 Shadow damage to players within 10 yards.
Rimefang's Abilities
Rime Blast — Rimefang blasts a player with ice, inflicting 12 Frost damage to players within 6 yards and applying Frostbite. The impact freezes Scourgelord Tyrannus's bone piles.
Frostbite — Rimefang chills his victim to the bone, inflicting 13,867 Frost damage every 1 sec for 8 sec.
Ice Barrage — Rimefang spits a barrage of ice chunks towards players, inflicting 30 Frost damage to players within 6 yards of impact.
Frost Spit — Rimefang spits frost at a player, inflicting 23,111 Frost damage.
Role Strategy
Tanks: Position Tyrannus carefully during Scourgelord's Brand. The knockback and the subsequent Reckoning leap need to be angled away from the rest of the group — if both land in the cluster, the 200% Shadow damage increase combined with the leap damage can chain-kill multiple players. Scourgelord's Brand increases Shadow damage taken by 200%, so use defensives immediately after it lands.
Healers: Bone Infusion ticks on everyone constantly. Army of the Dead phases hit the group hard, especially when Rotlings reduce player max health. Save a major cooldown for Army of the Dead. Make sure to freeze marked bone piles when Hoarfrost Explosion targets you — this prevents elite spawns.
DPS: Your primary job during Army of the Dead is freezing the marked bone piles when targeted by Hoarfrost Explosion. Step toward the highlighted piles before the freeze lands. If all marked piles get frozen, no Rotlings spawn and the phase becomes trivial. Interrupt Plaguespreader Plaguebolt whenever it casts.
Boss Tips
- When targeted by Frost Spit, hit a bone pile that has a green light over it.
- When the tank gets hit by Scourgelord's Brand, get knocked back and avoid the resulting circle.
- After Army of the Dead, quickly interrupt and kill any Scourge Plaguespreaders.
Elite Trash — Know These Packs
Lich Fearmonger — Uses powerful spells against both single targets and in AoE. If your pack contains this mob, interrupt every cast, apply crowd control, and kill it first before anything else.
Lady's Retinue Necrolyte — Surrounded by 4 minions with 1 health point each that won't die while the Necrolyte is alive. The Necrolyte itself is manageable, but the Sorcerer Corpse minion casts Void Explosion on a 3-second cast. If it lands, the entire group takes lethal damage. Interrupt Void Explosion every single time.
Clawrending Gargoyle — Dashes at a random player, lifts them into the air, and won't release them until the group breaks its shield. While the shield is active the gargoyle keeps rising. Break the shield too slowly and the player falls to their death. The moment a gargoyle grabs someone, stop everything else and burn the shield.
Tips and Tricks
- Most groups go to the right to Forgemaster Garfrost first.
- Use Root-breaking abilities to break Plungegrip without needing to break the shield.
- On Forgemaster Garfrost (B1), position the boss so players can hit the boss while hiding from the forge.
- In order to unlock the last boss, you need to rescue all 6 camps around the pit.
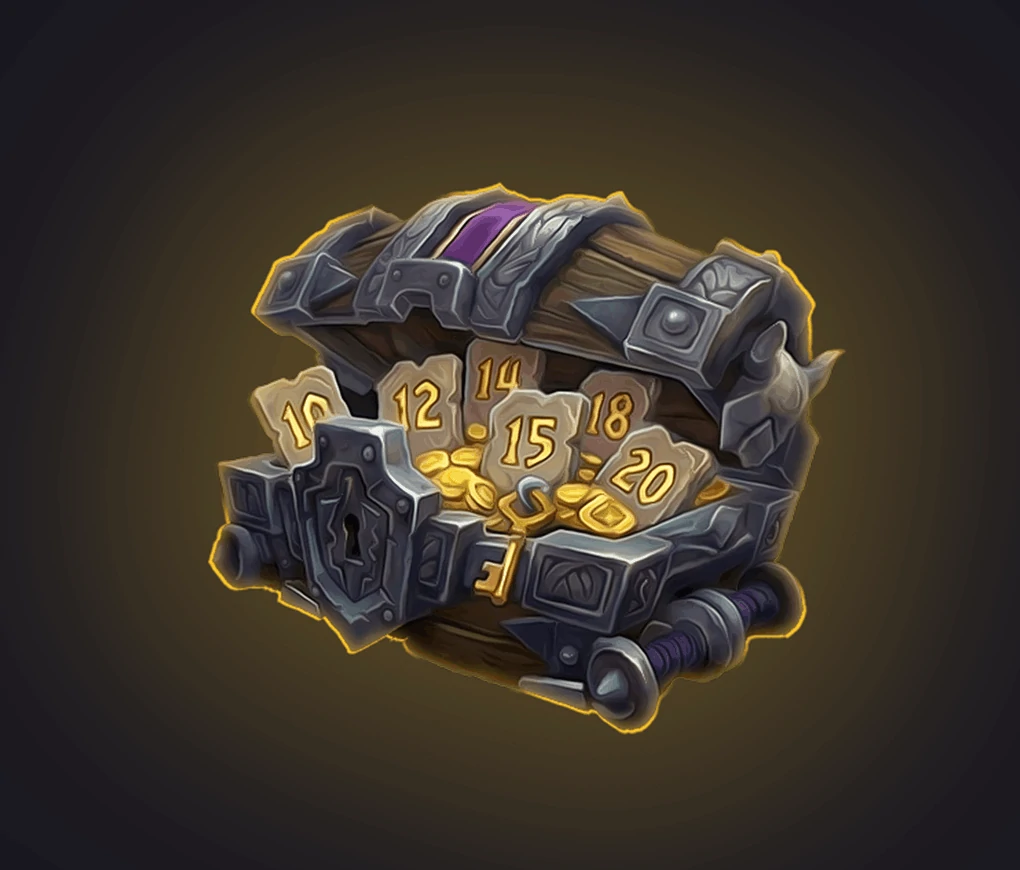
Best Pit of Saron Loot — Mythic+ Season 1
| Item |
Slot |
Boss Drop |
| Purloined Wedding Ring |
Finger |
Ick and Krick |
| Barbed Ymirheim Choker |
Neck |
Forgemaster Garfrost |
| Rotting Globule |
Trinket |
Ick and Krick |
| Rimebane Rifle |
Ranged Gun |
Scourgelord Tyrannus |
POPULAR NEWS


