- Home
- News
- WoW Midnight
- Seat of the Triumvirate Mythic+ Guide — WoW Midnight Season 1

Seat of the Triumvirate Mythic+ Guide — WoW Midnight Season 1
WoW Midnight · Season 1 · Mythic+ · Originally from Legion · ~34:00 Timer
Seat of the Triumvirate returns from Legion as one of the longer dungeons in the Season 1 rotation. Set on the shattered remains of Argus in the Eredath zone, it puts four bosses and significant trash density between you and the timer. Void damage hits harder than most players expect, positioning mistakes compound quickly, and several mechanics are instant wipes if ignored. Four bosses in order: Zuraal the Ascended → Sarpush → Viceroy Nezhar → L'ura.
Key Interrupts & Dispels
Assign interrupt rotations before the first pull. Several of these are wipe-level if they land.
Key Interrupts:
- Horrific Screech — Nightwing (Sarpush encounter)
- Mind Blast — Viceroy Nezhar
- Dread Screech — Shadewing (trash)
- Umbral Bolt — Shadow Caster (trash)
- Plaguebolt — Scourge Plaguespreader (trash)
Key Dispels:
- Magic debuffs throughout — multiple bosses and trash apply curse and magic debuffs. Bring a dispel and use it actively.
Important: Pre-Boss Objective — Zuraal
As you enter the dungeon, Zuraal the Ascended is suspended in the air and cannot be engaged. Four Merciless Subjugators are channeling power into him around the room. They are immune to crowd control and cannot be skipped — kill all four to drop Zuraal and begin the fight.
Similarly, before Sarpush and L'ura you must defeat Rift Wardens guarding portals in the area. Keep them within 30 yards of their rift or the portal becomes unstable and deals lethal group damage.
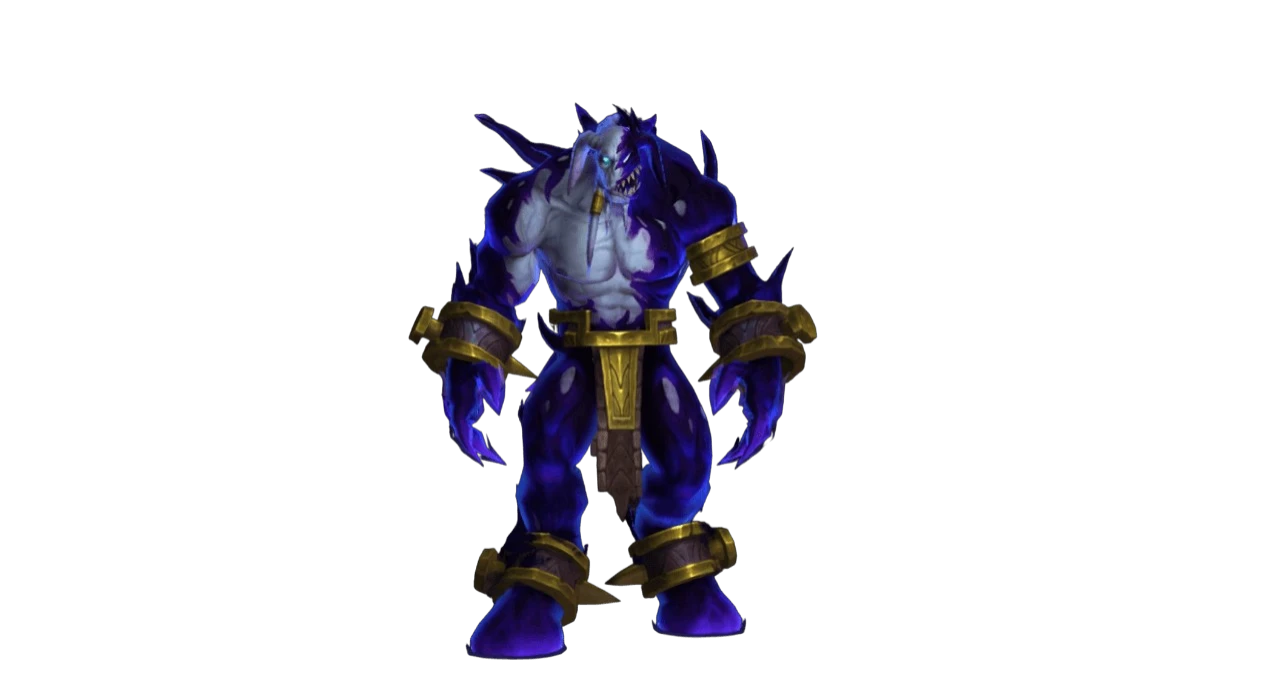
Boss 1 — Zuraal the Ascended
A spatial awareness fight built around void puddle management. Zuraal's slam spawns Coalesced Void adds that walk toward him — if they reach him, the group takes massive damage. The arena fills with void zones over time, and groups that don't control puddle placement run out of safe ground by the end.
Abilities
Oozing Slam — Zuraal selects a random target and after 5 seconds jumps toward them, dealing damage and leaving a Void Poison zone at the landing point. This zone deals massive damage per second to anyone who steps in it. Two Coalesced Void adds also spawn around the room.
Coalesced Void — Adds that walk toward the boss. If they reach Zuraal they explode for heavy group-wide damage and leave additional void zones. Slow, stun, or knock them back while burning them down. Use long-duration CC on one while focusing the other.
Null Palm — A void cone targeting a random player. Lethal if you stay in its path. Move out the moment you see the indicator.
Void Slash — Three consecutive strikes on the tank. Heavy tank damage — use defensives here.
Decimate — All players take damage and receive a curse dealing damage every second for 6 seconds. Void Clumps begin moving toward the boss. Drop Oozing Slam zones at the edge of the room to preserve clean space in the center.
Crushing Void — At 100 energy, Zuraal pulls all players and Void Clumps toward himself, dealing heavy damage and knocking everyone back. Don't let Void Clumps be near the boss when this triggers.
Role Strategy
Tanks: Use defensives during every Void Slash combo. Position the boss so Void Clumps don't path directly to him — their route matters from the moment they spawn. If a clump reaches Zuraal during Crushing Void, the group takes massive unavoidable damage.
Healers: Damage is manageable outside of Decimate and Crushing Void. Save strong cooldowns for those windows. Outside them focus mana efficiency — the fight goes longer if void zones keep the group moving.
DPS: Drop Oozing Slam zones at the room's edges, never in the center or on the boss. Swap immediately to Coalesced Void adds on spawn — use slows, stuns, and knockbacks to buy time. Interrupt Null Palm cones and use defensives when Decimate lands.
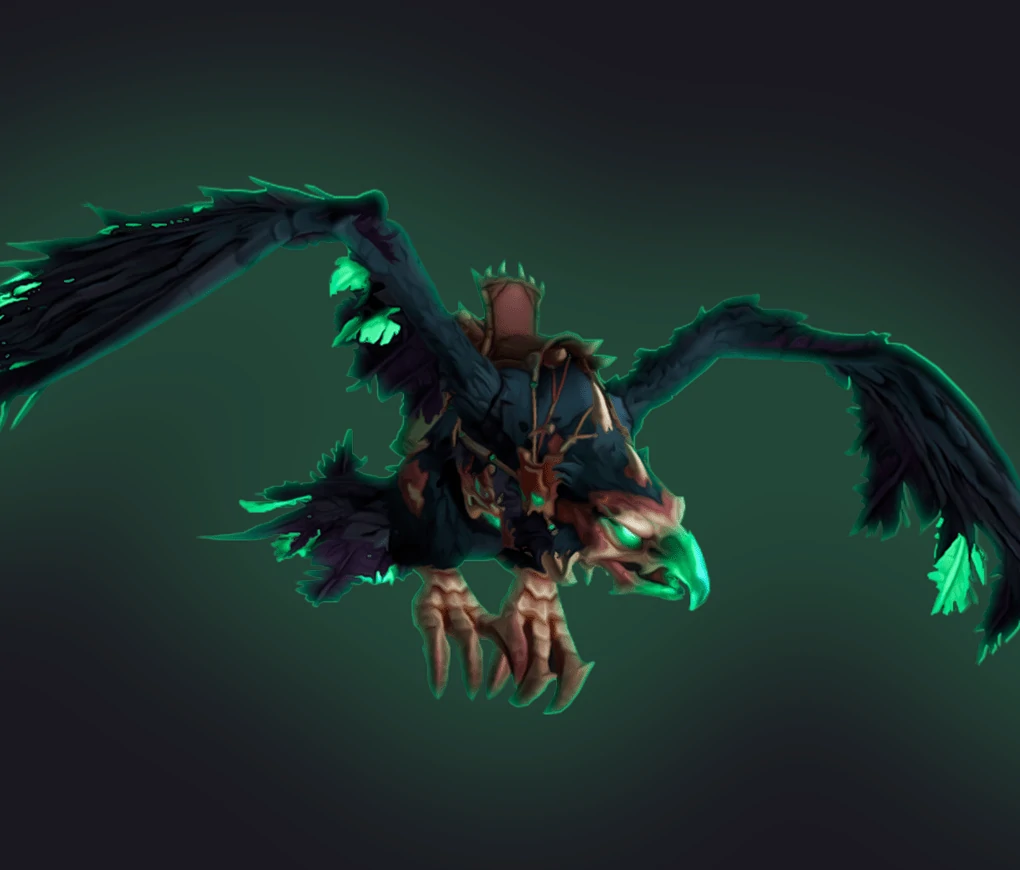
Boss 2 — Sarpush
A bomb management fight. Sarpush commands two pets — Nightwing and Blackfang — who share his health pool and add their own mechanics on top. Void Bombs spawn near every player and need to be cleared by Phase Rush before Overload detonates any that remain. Each bomb that explodes through Overload adds a 20% damage-taken stack to the group.

Abilities
Nightwing — Periodically flies toward a random target, dealing damage and casting Horrific Screech. If not interrupted, Horrific Screech deals heavy damage and fears the entire group for 4 seconds. Interrupt this every single time.
Blackfang — Jumps behind a random target, dealing damage and applying a 5-second bleed.
Void Bomb — A bomb appears near each player. Stepping into it deals massive damage and applies a curse dealing damage every second for 15 seconds.
Phase Rush — Zones appear around all players and follow them for 5 seconds before exploding. The explosion damages all players but destroys any Void Bombs within its blast radius. Stack together during Phase Rush to detonate bombs efficiently.
Overload — Sarpush deals damage to all players and applies a curse lasting 8 seconds. All remaining Void Bombs explode simultaneously, applying Oozing Void — a 20% damage-taken increase per bomb. This stacks. Zero bombs remaining when Overload hits means a manageable phase. Multiple bombs remaining means a wipe at higher key levels.
Rending Void — Sarpush's melee attacks deal additional shadow damage. Heavy tank damage.
Role Strategy
Tanks: Use Phase Rush to group-detonate bombs by stacking with the party. If bombs remain before Overload, use a magic immunity or defensive to soak them yourself rather than letting Overload stack the debuff on everyone. Use defensives on Rending Void. Interrupt Horrific Screech from Nightwing.
Healers: Every Sarpush ability damages and curses the group. Save major cooldowns for Overload and Phase Rush recovery. Dispel magic debuffs from allies when available — removing the Overload curse reduces sustained damage significantly. Stack with the group during Phase Rush.
DPS: Interrupt Horrific Screech — a fear on the group during an active bomb phase is a wipe. Stack with the group during Phase Rush to maximize bomb detonations. If your class has a magic immunity or damage-absorption cooldown, use it to pre-clear remaining bombs before Overload if Phase Rush didn't clean everything.
Boss 3 — Viceroy Nezhar
An interrupt-and-positioning fight. Nezhar deals heavy tank damage through Mind Blast — interrupt it constantly. His portals fire void projectiles in four directions every 5 seconds, and at 100 energy the entire platform becomes lethal except for the zone directly around the boss. Position him in the center before Bursting Void so the group can reach the safe zone without dying to the transition.

Abilities
Mind Blast — Nezhar strikes his target with shadow magic, dealing massive damage. Interruptable. Let it land once and the tank needs emergency healing. Let it land twice and the tank is dead.
Mass Void Saturation — Curses all players, dealing damage every second for 5 seconds. Save a major healer cooldown for this combined with other incoming damage.
Shadow Tentacles — Tentacles appear on the field dealing heavy damage. Kill them immediately — they spawn just before other high-damage abilities and compound incoming pressure.
Gate of the Great Void — Two portals placed on the field fire void projectiles in four directions every 5 seconds. Players hit take significant damage and receive a 4-second curse of heavy periodic damage. Learn the projectile angles and stand between them.
Bursting Void — At 100 energy, Nezhar knocks all players back and applies a slow. After 5 seconds the entire platform is covered in a lethal void zone — only the area immediately around the boss is safe. If the boss is at the edge of the room when this triggers, half the group dies in the knockback before reaching the safe zone.
Role Strategy
Tanks: Interrupt Mind Blast on every cast — this is the highest priority interrupt in the fight. Position Nezhar in the center of the platform at all times. When Bursting Void is imminent, verify his position is central so the knockback doesn't strand anyone in the lethal zone.
Healers: Remove debuffs actively — Mass Void Saturation and Gate projectile curses stack incoming damage fast. Use strong cooldowns during Mass Void Saturation. Be ready for burst healing after every Bursting Void transition.
DPS: Interrupt Mind Blast whenever the tank doesn't have one available — assign a backup interrupter. Kill Shadow Tentacles immediately on spawn. Position yourself between Gate projectile angles and never stand in their direct path. Focus Nezhar down quickly — Bursting Void cycles get more dangerous as the fight progresses.
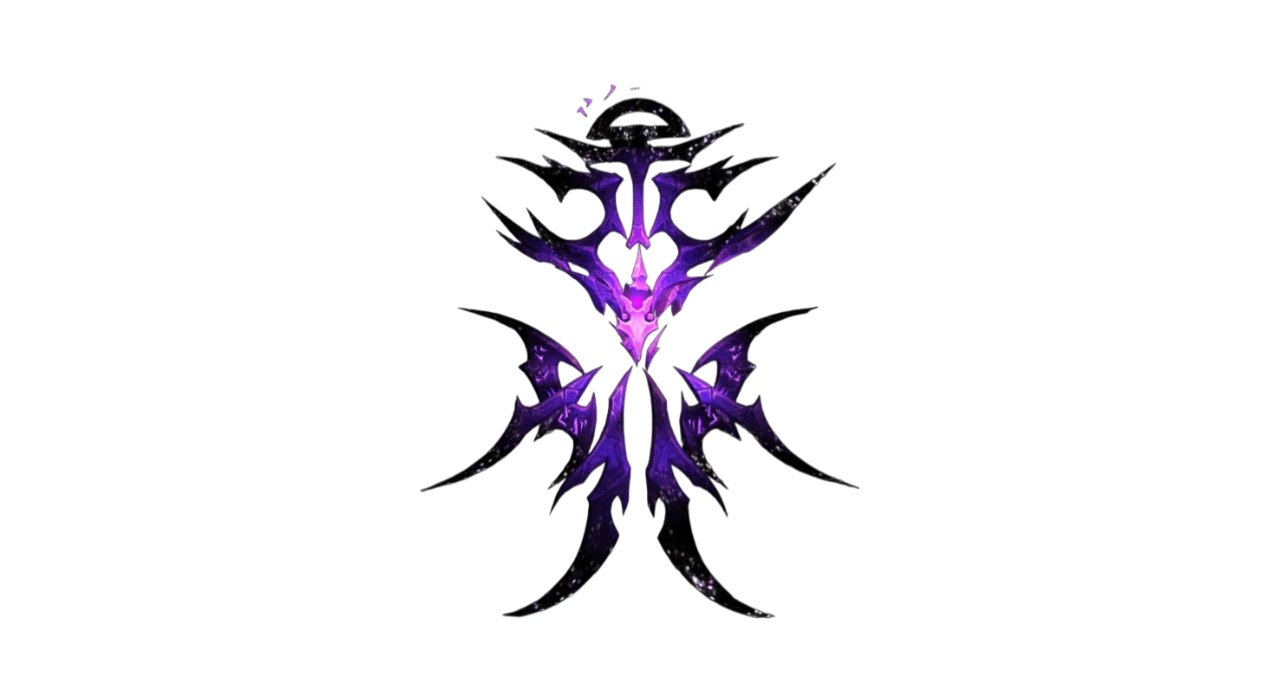
Boss 4 — L'ura
The final boss and the most mechanically complex fight in the dungeon. Six resonators around the arena stack a curse on the group every 1.5 seconds — each stack increases Requiem of Despair damage by 3%. Dissonant Beams targeting three players are the mechanic that silences resonators and removes active stacks. You must silence all six resonators within two uses of Dissonant Beams or Symphony of Eternal Night kills everyone. Three rotating beams from Disintegration cover the arena throughout the fight.
Abilities
Disintegration — Three rotating beams circle the boss. Contact with a beam deals massive damage per second. The beams rotate continuously — watch their speed and path, don't stop moving.
Notes of Despair — Six resonators on the battlefield apply a stacking curse to all players every 1.5 seconds. Each stack increases Requiem of Despair damage by 3%. Stacks accelerate as L'ura's health drops.
Requiem of Despair — L'ura deals shadow damage to all players. Damage scales with active Notes of Despair stacks. This is what kills groups that ignore resonator management.
Dissonant Beam — Three players are marked and beams move toward them. A beam passing through a resonator silences it and removes all active Notes of Despair stacks from targeted players. You need all six resonators silenced within two uses of this ability.
Gloomy Chorus — Three zones cover almost the entire arena. Players caught in the zones at detonation are instantly killed. Move to the safe gaps immediately.
Symphony of Eternal Night — Triggered once all resonators are destroyed. L'ura uses several abilities dealing damage in three directions and creates numerous zones. Anyone stepping into them takes heavy damage.
Void Spear — Every 4 seconds L'ura opens a rift. Once three rifts appear, she strikes a chosen target with three spears.
Void Drain — After resonators are destroyed, L'ura is stunned for 20 seconds and takes 200% increased damage. Burn her hard in this window — after 20 seconds, resonators reactivate.
Role Strategy
Tanks: Keep L'ura in the center of the arena. This gives the entire group maximum movement space for Disintegration beams and Gloomy Chorus gaps. Use defensives during Void Spear — three spears on a single target hits hard.
Healers: L'ura deals consistent damage throughout. The hardest healing phase is when multiple Notes of Despair stacks are active below 50% health — the group takes beam damage from Dissonant Beams while managing high health deficits from Requiem. Spread cooldowns across the fight rather than front-loading them.
DPS: Dissonant Beam execution is your primary job. When marked, walk through as many resonators as possible in sequence to silence multiple in one pass. Three marked players need to collectively hit all six resonators across two beam uses — coordinate paths before the pull. During Void Drain, use all offensive cooldowns. That 20-second window with 200% increased damage taken is your kill opportunity.
Elite Trash — Know These Packs
Breach Warden — Guards each portal in the Sarpush wing. Applies damage zones under players' feet and fears random targets for 3.5 seconds. The tank must keep the Breach Warden close to the portal — moving it away makes the portal unstable and deals massive group damage. Don't kite this mob.
Shadewing — Casts Dread Screech, which is a priority interrupt. Missing even one is a near-wipe at higher key levels. Assign a dedicated interrupter to this mob in every pack that contains one.
Shadow Caster — Spams Umbral Bolt at random targets. Use spare interrupts here when Dread Screech is on cooldown.
Pulsing Void Mobs — Several trash packs contain enemies that pulse constant moderate group damage. Kill them immediately — letting them sit while focusing other targets puts the healer into triage mode for a trash pull.
Tips and Tricks
- Seat of the Triumvirate has a 34-minute timer — the longest in the Season 1 pool. Clean execution matters more than rushing.
- The dungeon heavily favors ranged DPS due to several key interrupts and the open arena design of most boss rooms.
- Before Zuraal, kill the four Merciless Subjugators first — the boss is immune until all four are dead.
- Keep Breach Wardens within 30 yards of their portal or the portal explodes for lethal group damage.
- Use LoS on trash before Viceroy Nezhar — pull casters around corners to prevent Umbral Waves from hitting the full group at open angles.
- During L'ura, coordinate Dissonant Beam paths before the pull. Two uses to silence all six resonators leaves no margin for error.
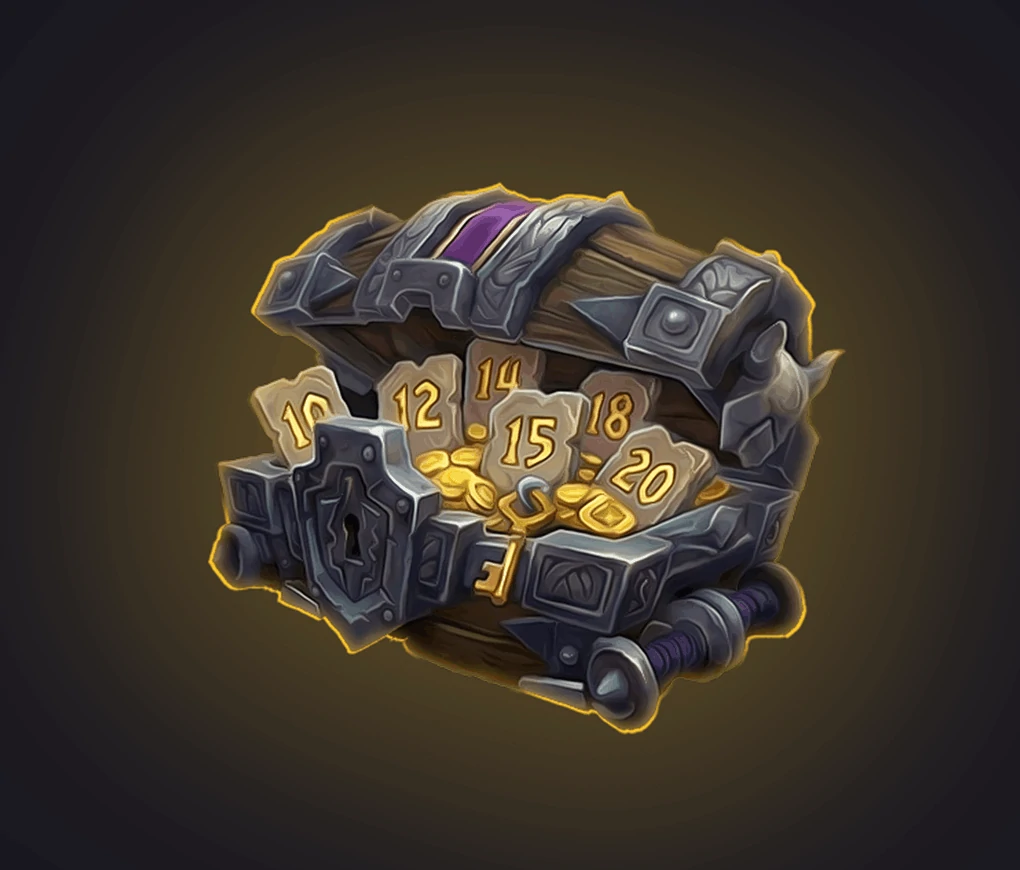
Best Seat of the Triumvirate Loot — Mythic+ Season 1
| Item |
Slot |
Boss Drop |
| Voidclaw Gauntlets |
Hands |
Viceroy Nezhar |
| Necklace of the Twisting Void |
Neck |
Viceroy Nezhar |
| Eredath Seal of Nobility |
Finger |
Zuraal the Ascended |
| Band of the Triumvirate |
Finger |
L'ura |
POPULAR NEWS


